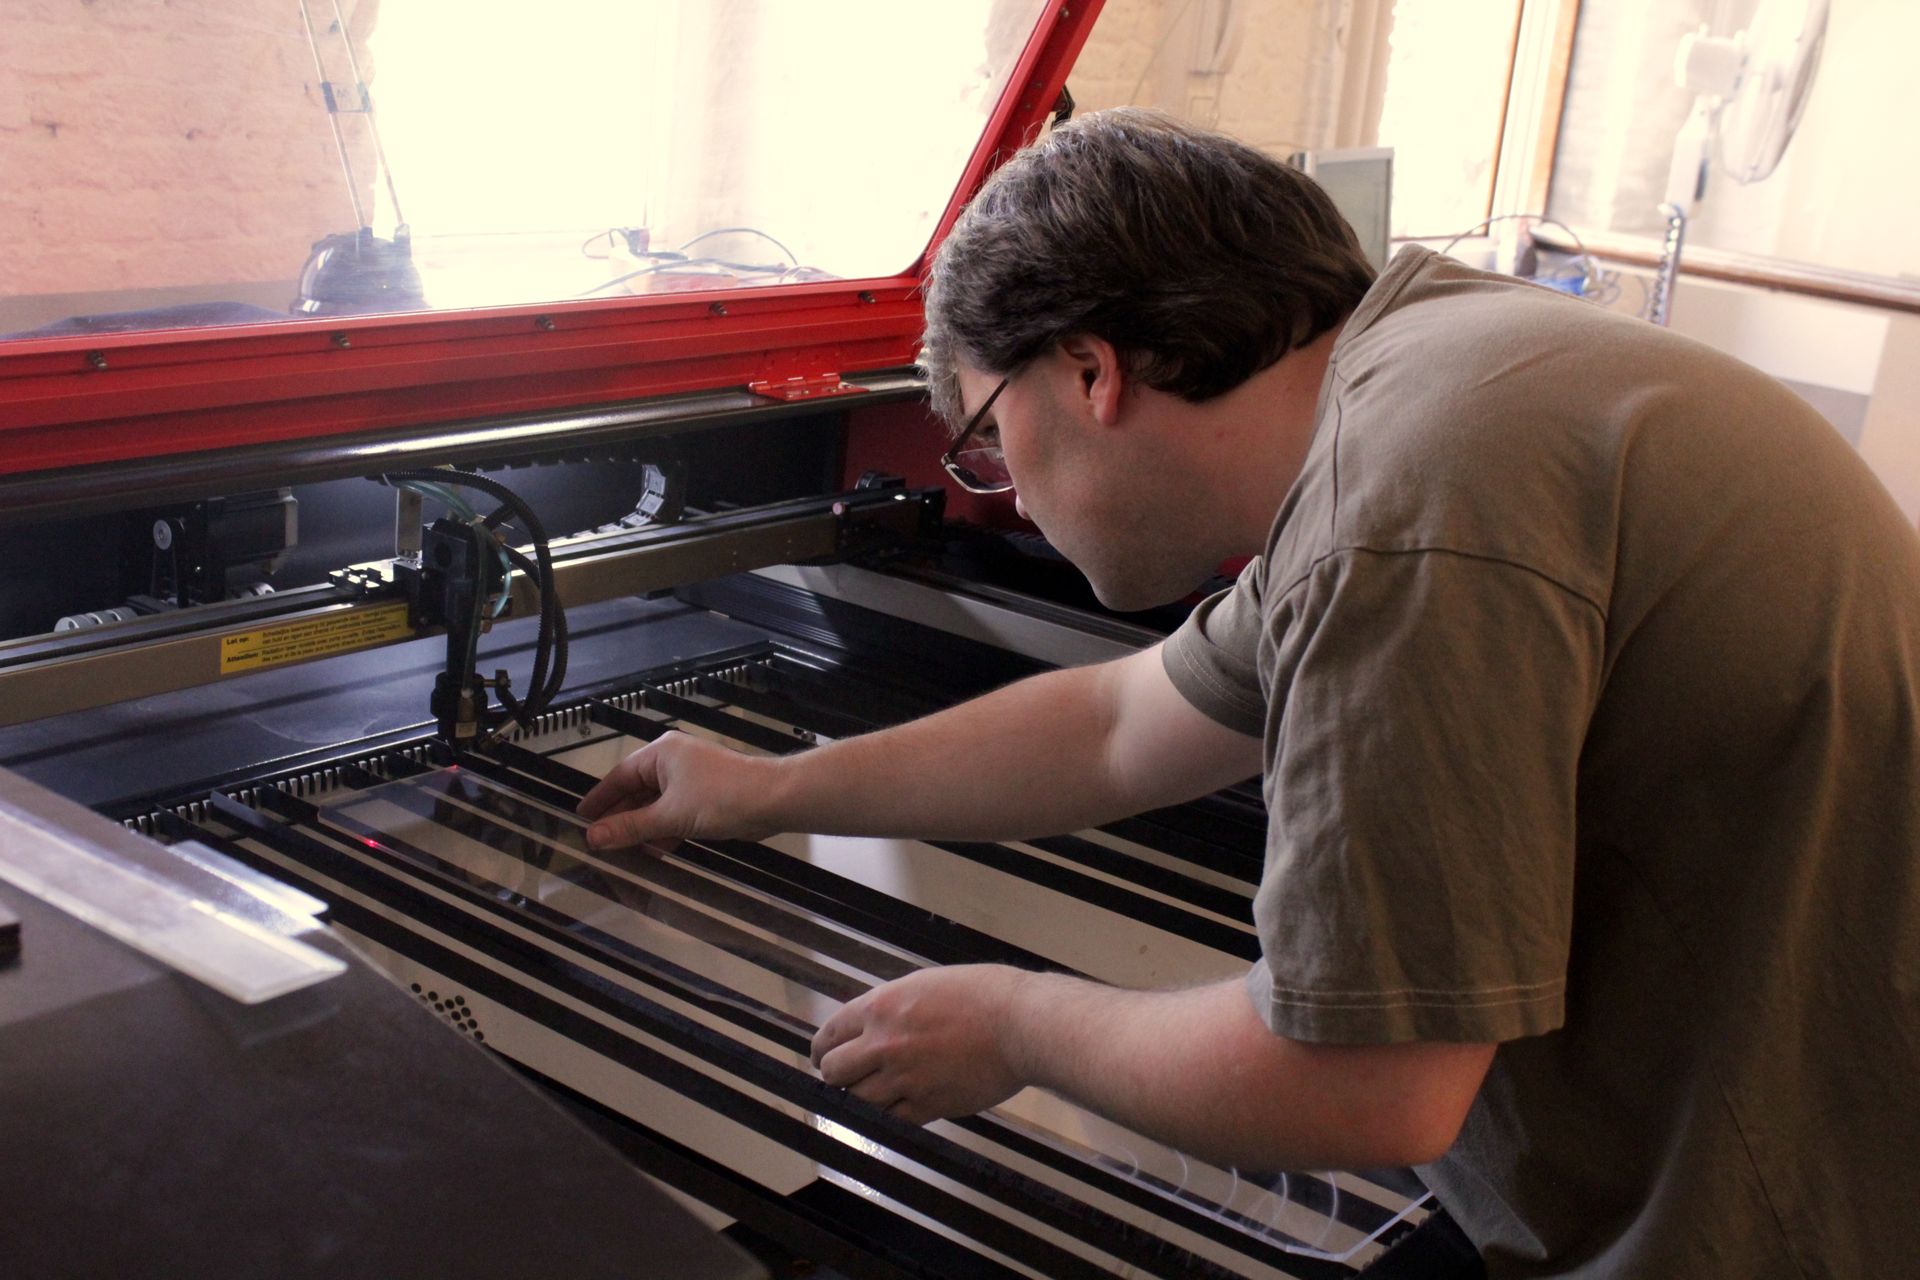
iMAL Lasercutter: the Cyborg
IMPORTANT NOTE: From September 2018 onwards, MDF is forbidden for practicals (it's damaging the machine) and ecologicals reasons in the lasercutter.
Updated with new focal length & instructions on importing and layers! (20/3/2013)
iMAL lasercutter just arrived on Monday 13 February 2012.
It's made in China, but bought through the belgian company Ketele which provides a warranty and set it to european standars and security norms (CE approved).
They sell it under the brand name Cyborg!

Our Cyborg is a LS-1080-K with a large working area of 1000x800mm and powered by a 130W C02 laser. This is a big and powerful machine able to cut wood, acrylic, plexi, fabrics,... Not PVC (strictly forbidden generating dangerous gas). As any CO2 laser, it can not cut metal and glass (although it can engrave theses materials). Besides the main machine, there is a ventilation and filtering system (as the laser burns the material...) and a water cooling system for the laser.
The Cyborg is connected through USB to a dedicated PC (Windows7).
The control software (SmartCarve) can import 2D vectors as DXF (this can be exporter from Illustrator and Inkscape), and bitmap formats (BMP, JPG, GIF,..). Although the machine can be used for engraving, the model we have (without a z axis but with its powerful laser) is more suited for cutting.
Basics
WARNING! The laser cutter is a dangerous piece of machinery. It has already burned down the FabLab at MIT. Always supervise the machine when it is in operation.
If your material starts burning, turn the laser off (green round button). The compressed air sent to the laser head should turn the flames off. If necessary, take the material off.
The laser will not operate if the hood is opened, the green button is off, or the cooling system isn't working.
Be also careful NOT to push the "Pulse" button when the machine is open.
Preparing the job
Basic steps
1. Export your objects as DXF (R14/LT98/LT97) from Adobe Illustrator, Inkscape, Corel Draw or other programs.
2. In SmartCarve, create a new document.
3. Import your file and place it on the document. (choose "millimeters" if coming from Illustrator)
4. Scale it and translate it as appropriate (don't forget to hit the "apply" button if you're typing in exact values)
5.
On the laser, make sure the origin is set correctly. Use the arrow keys
on the control panel to position the laser, then press the "origin"
button.
6. On the laser, make sure the green light is on.
7. In SmartCarve, press the "Carve" button. Hit "Exécuter."
USB Drives
SmartCarve can be buggy if it's working on documents stored on a USB drive. Copy your documents to the machine's hard drive and work from there.
Illustrator tips
(if you're using Inkscape, please reffer to this tutorial)
- Only the outline is exported, not the effects and appearances (use View->Outline or CTRL-Y/CMD-Y to view what will be exported)
- Use Object->Expand or Object->Expand Appearence if you want to keep the result of the effects / or convert path appearance to an outline
- Vectorise your fonts!
- Ungroup everything, so you only have layers containing paths (SmartCarve doesn't always deal well with Illustrator groups)
- LAYERS! SmartCarve doesn't care about your layers. BUT it will actually map your lines to its layers based on the colour.
For example, if you have a line in pure red (255-0-0) in Illustrator, SmartCarve will put it in its red layer.
SmartCarve
SmartCarve stores your objects in layers. Each layer can have a different speed and power setting to engrave different depths in your material. These settings are different for every material.
Be careful that when you import a drawing, it does so as a group. SmartCarve does very strange things with layers and groups (like acting like the group is on one layer while the colour of the objects is another layer's colour). In any case, ungroup ("Scatter Group") to be sure.
Be also careful that layer number doesn't equal layer order. You can actually give the layer 5 a higher priority than layer 1. It's the priority, not the layer ID that determines the operation order!
Speed and power
There are 2 parameters driving the cutting: the laser power and the displacement speed of the laser head. When working with a new material, tests have to be made, starting with very low power and high speed, changing them until the material is cut through. So for instance for cutting a MDF 3mm thickness, you could use a speed of 20mm/sec and a laser power at 55%.
The speed for cutting should never be higher than 100mm/sec. For engraving you can go up to 300mm/s.
As for the power, you can't go below 20%-25% (or the laser behaviour might become inconsistent). Always use the same value for minimum and maximum power (the min-max are used when a bitmap picture is used for engraving).
You can find tested values here: http://wiki.imal.org/howto/laser-cutter-settings-different-materials
Only use them as an indication, never follow them blindly.
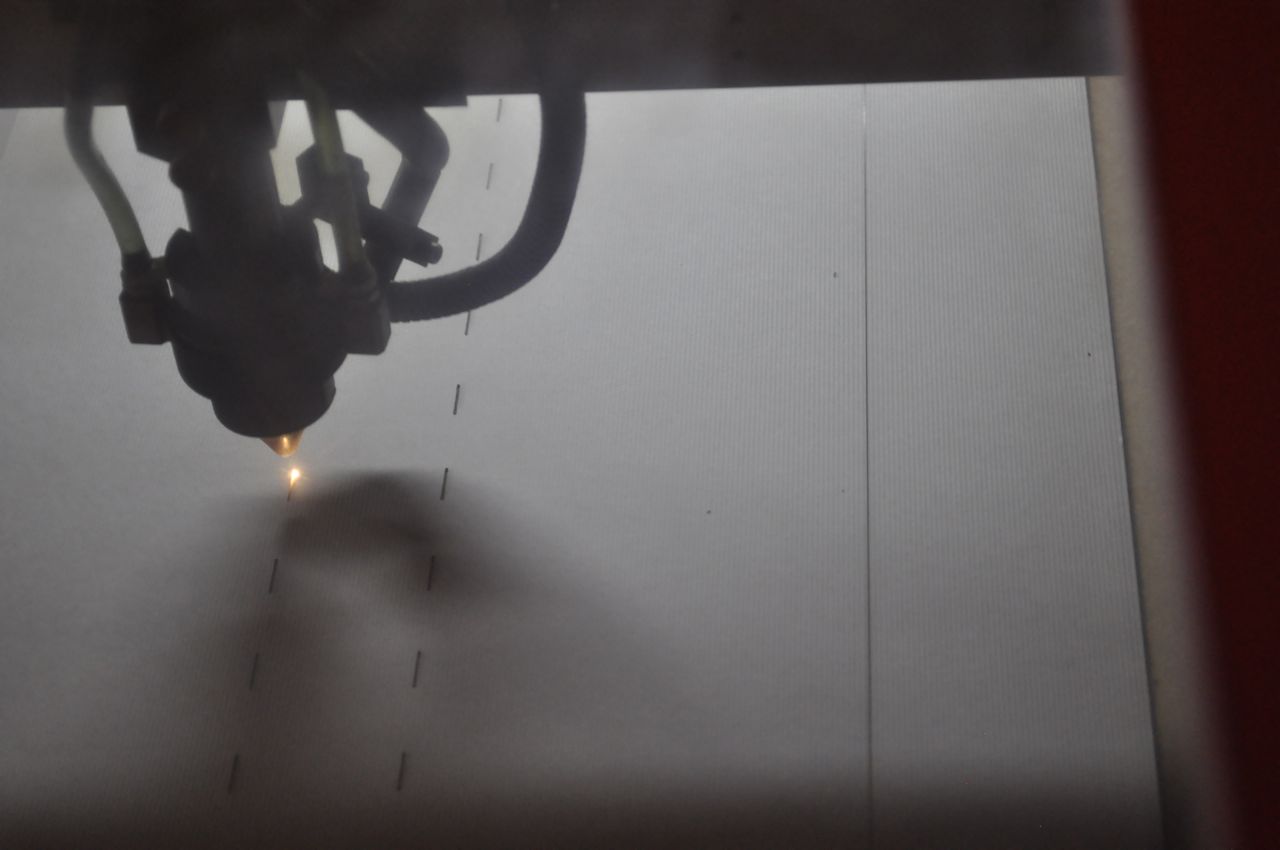
Getting ready to print
Before cutting, you should always set the focus point of the laser by adjusting the height of the laser head. The distance between the bottom of the conical head and the material you want to cut should be 9.5mm = a pile of 3 x mdf 3mm + 1 piece of cardboard now between 8 and 9 mm now it's 6mm!.
Note that if you're cutting through a thick material., you'd better have your focal point at 1/3. For example, if you're cutting through 10mm of wood, instead of having your focal point right on the surface, you want it 3mm inside the wood. 9mm - 3mm = 6mm, the distance between the laser head and the surface of the wood.
Document Origin
The document origin -- the top-left corner -- aligns with the origin position of the laser. This allows you to control where the laser starts cutting. The laser doesn't "feel" the material: you have to manually position it.

You can change where the laser starts using the arrow keys on the control panel of the laser, then pressing the "origin" button.
Go!
Turn the laser on with the green button, and send the job from the computer.
You can always change the origin and press Repeat to redo the last job, which is particularly useful when you're doing your first tests.
More details on how to use the machines in the software manual.
[additional contribution by Frederik De Bleser]
Gallery


Info
Difficulty: 1/5
Last updated: August 2018