The princess and the wolf + The Dragon
The first day
As part of 3D class , we went to IMAL to print objects in various ways. The first day, they taught us how the different ways of printing.
The laser printer is one of the fastest method. This technology works with the
2D to move. It can either engrave or cut material. Its two characteristics are
speed and power. At most the speed is weak and the strong power then it’s a cut
and the opposite is an engraving. This machine needs a vectorial picture or a
photo to engrave or to cut. It’s possible to use many materials as support but
materials to avoid those contain chlorine because they are toxic.

The 3D printer works which three dimensions. This method is additional and takes more time. This machine works with the melted thread which is from corn-based PLA or on plastic-based ABS. It doesn’t engrave or cut but extrude sleeps by layer the thread to create an object. The printer works with the CURA software which allows to define:
• direction and size of the object
• The space of filament
• If objects are necessary be hollow or filled
• The temperature which the thread must attain for impression
• Add support or not to stabilize the object

The numerical milling machine is a subtractive machine therefore takes material away. This machine allows to have a total on depths.

The stereolithographic is a method which also works with a laser but the laser impression works differently. A powder put in a receptacle is needed to have an object. This one is the base of the object and it’s going to be solidified thanks to the laser. But this method is more restrictive because it’s necessary to clean the receptacle or otherwise impressions will fail.

The second day
Model 1:
First, I chose to print, a drawing which I had done again on Illustrator. I chose it because it was almost ready for the laser printer. I wanted to see how the machine was going to work to engrave my drawing with contrasts between the foreground and the background.
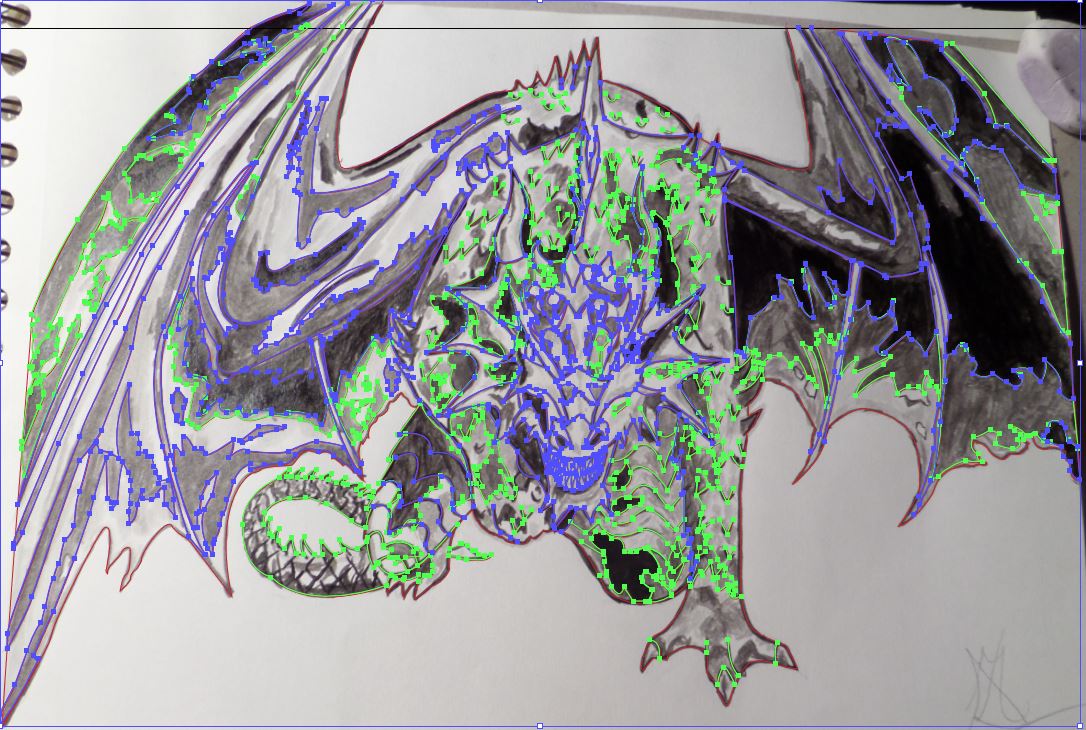
Before starting the impression, it’s necessary to verify that features are well executed and that they are therefore closed a form to have a depth. If the places where there must be a difference between the 1st plan and background aren’t then closed, the software will not allow to put this level of contrast. I therefore made several tests to see if the level of contrast was good.
*My vectorial drawing looks like that when all the lines are closed with the different depth*

It’s necessary to pay particular attention when the laser printer is used because it’s necessary to define it. If you want to engrave, the speed has to be higher and power smaller otherwise you risk burning the board.
*It's the result when the speed and power are incorrect*

To avoid that this type of problem, it’s simply necessary not to confuse the values which have to be more big/smaller if they want to engrave or to cut.
*The final result*

The next week
Model 2:
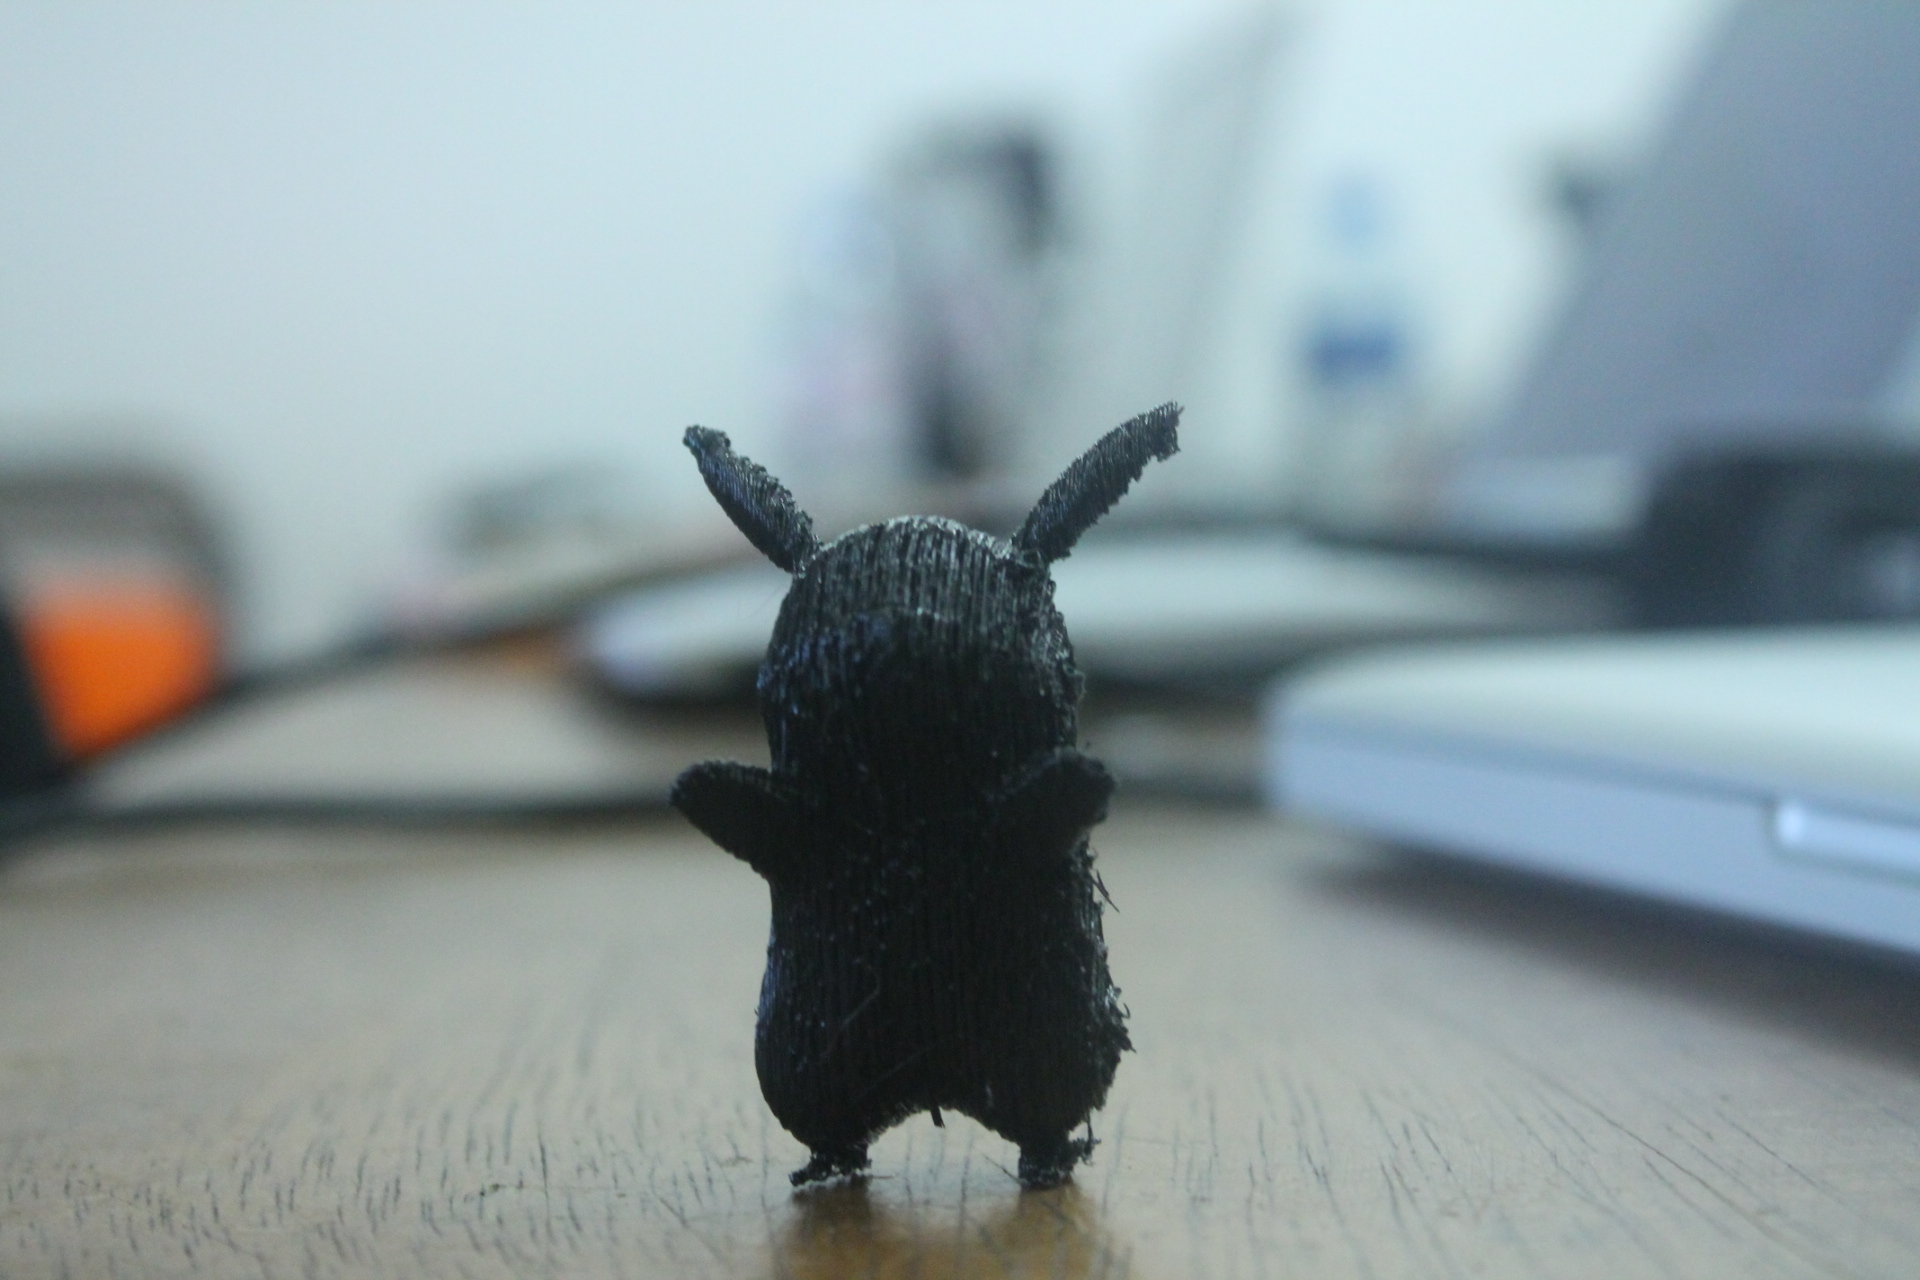
Here I decided to print Pikachu. I wanted to begin with a small object and to see how is that is going to go. For this plan, I used 3D Ultimaker Original the printer which uses CURA software to define the model before impression.
Before printing this model, it’s necessary to import it in CURA and to define it. It’s sometimes necessary to turn the object on different axis to see which one will allow the model to print correctly and will take less time. I had places my model standing, unfortunately impression was unsuccessful because there was a problem, the instructors of IMAL, told me that it was because of position of the model that there was a problem. There was a space between the floor and the tail of the Pokemon which the machine did not succeed in filling. There had to be a support there.
*It's the interface of CURA software, it's easy to use*

*It's the view of Pikachu with his support. The space between his tail and body it's the problem.*

To solve the problem, it was necessary to put my model put on the side so that the machine could print everything without any problem.
It’s necessary to prove that there no empty space.
*Printing process of Pikachu*
*The final result of printing*

Model 3:
The chosen model is a car designed, in 3D class. I wanted to see what printing this car look like on the IMAL machines.
I therefore used Ultimaker Original 3D printer for which CURA software is necessary.
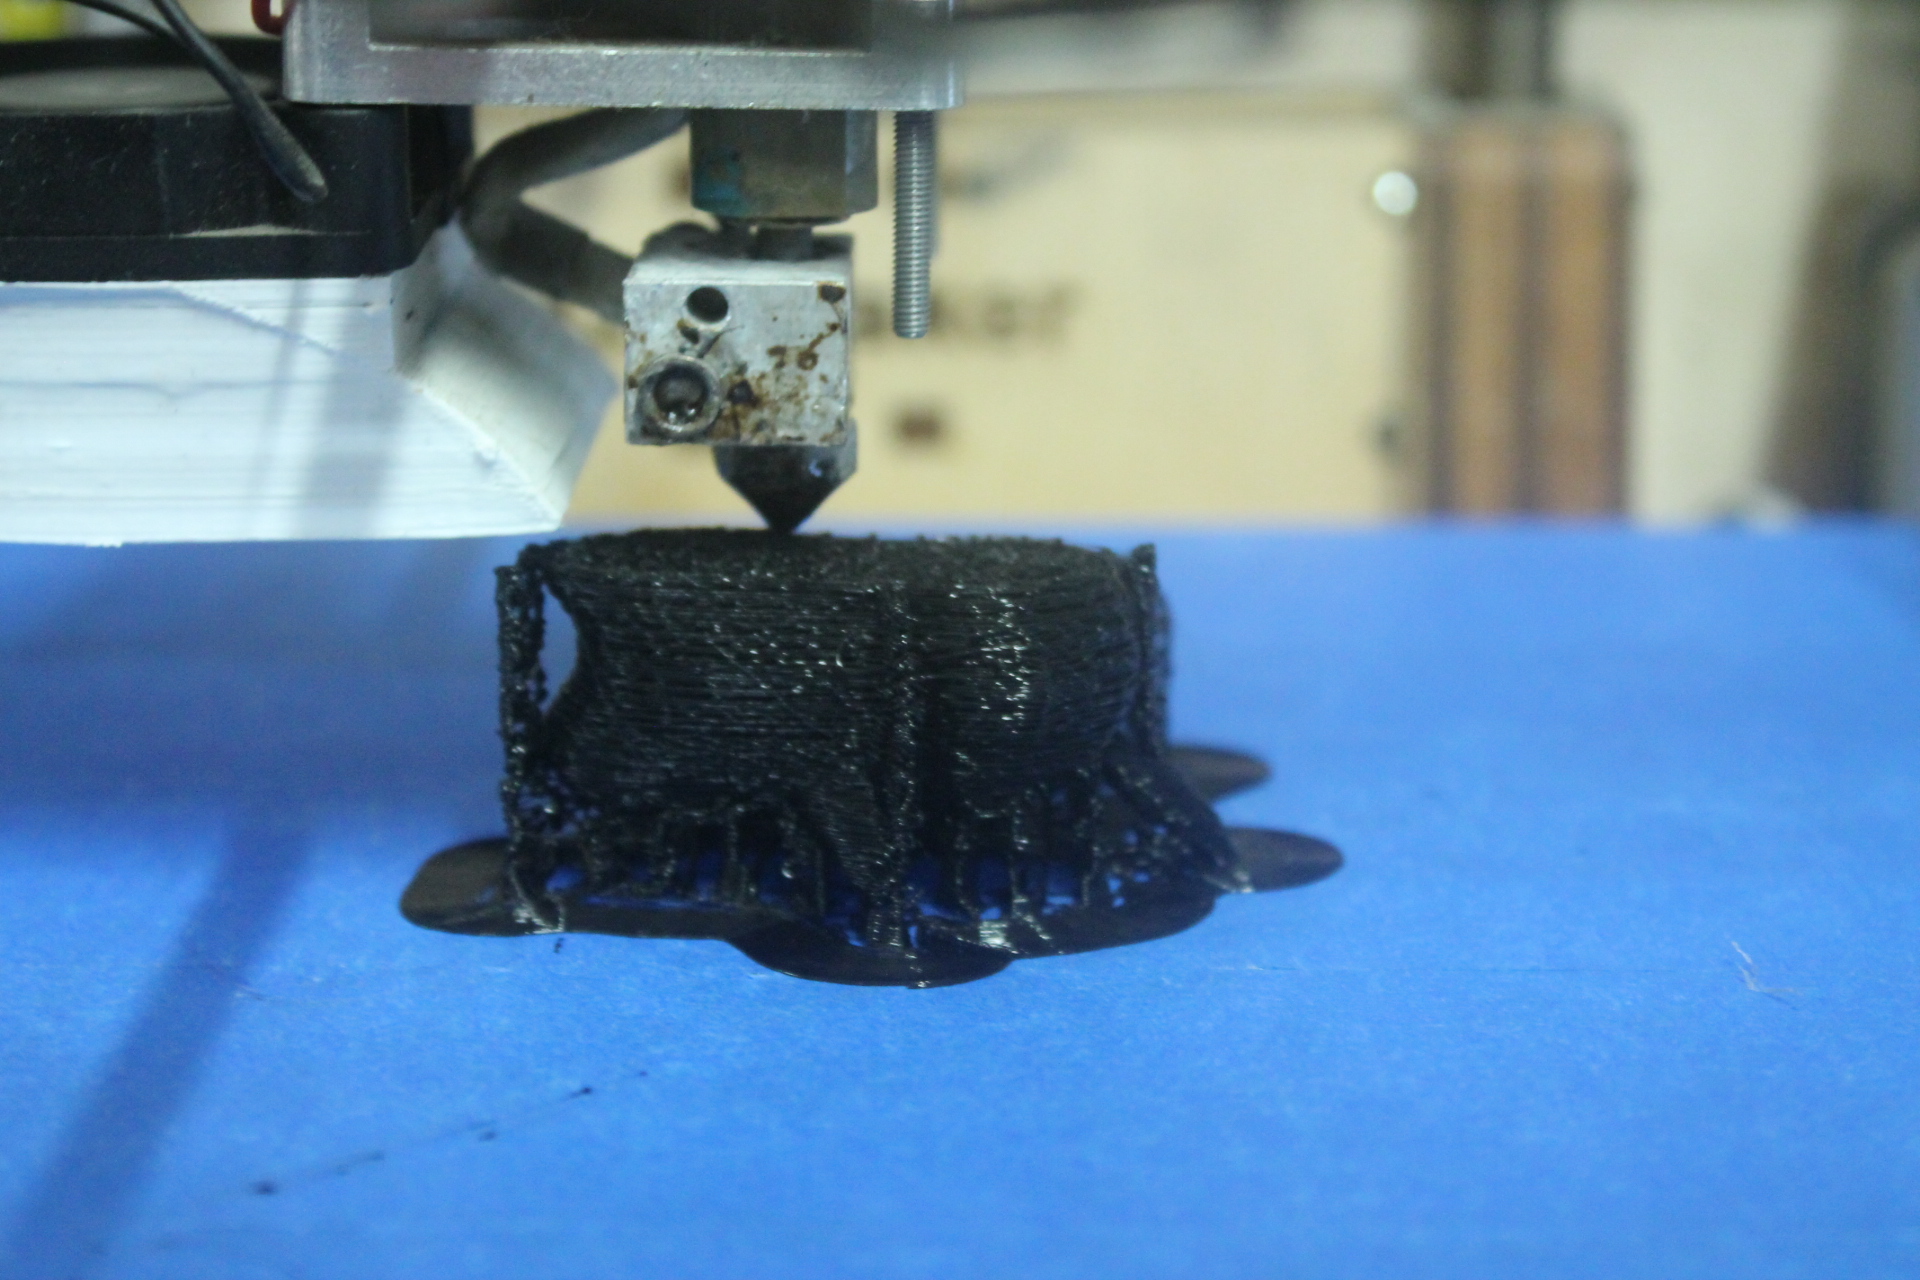
I printed a first time but unfortunately the result was not the one I expected because the aspect of the car was very ugly.

The instructor Melissa told me that it was necessary to change settings depth of the thickness of the thread and the space between layers on CURA. I followed her advice and I therefore changed these settings and I started the impression.
*The orange settings must be change to be better.*
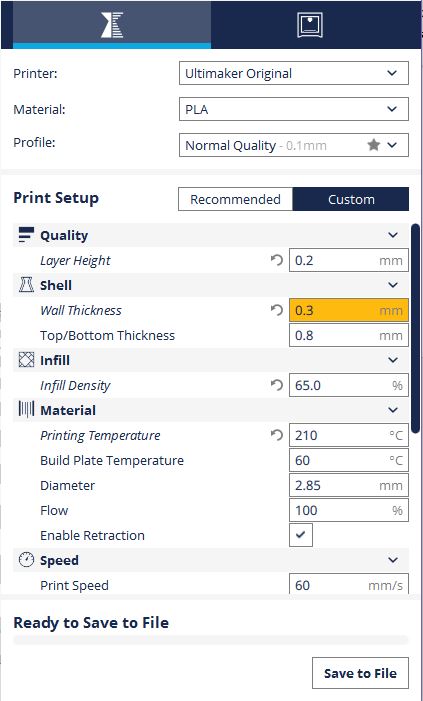
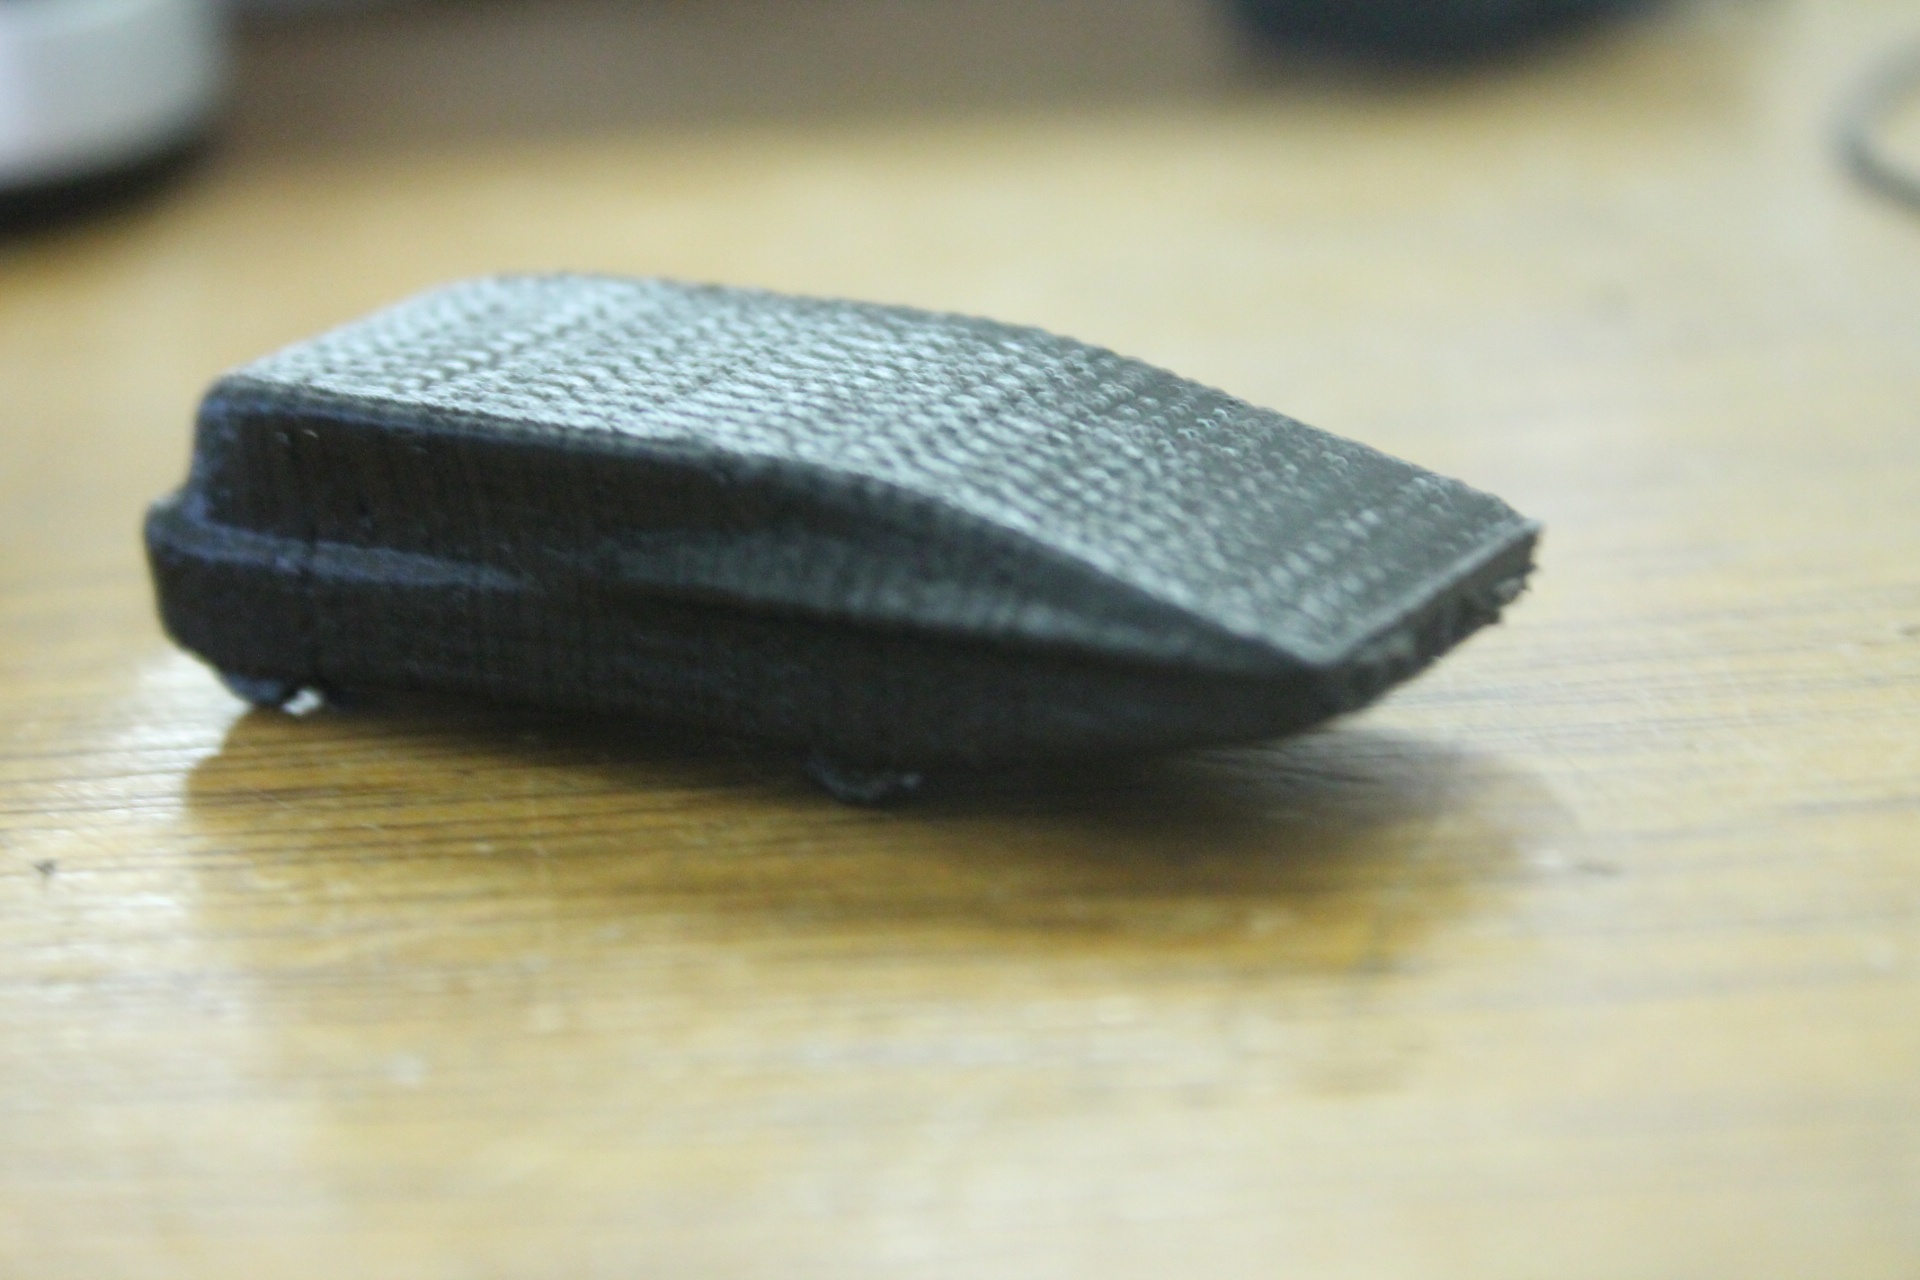
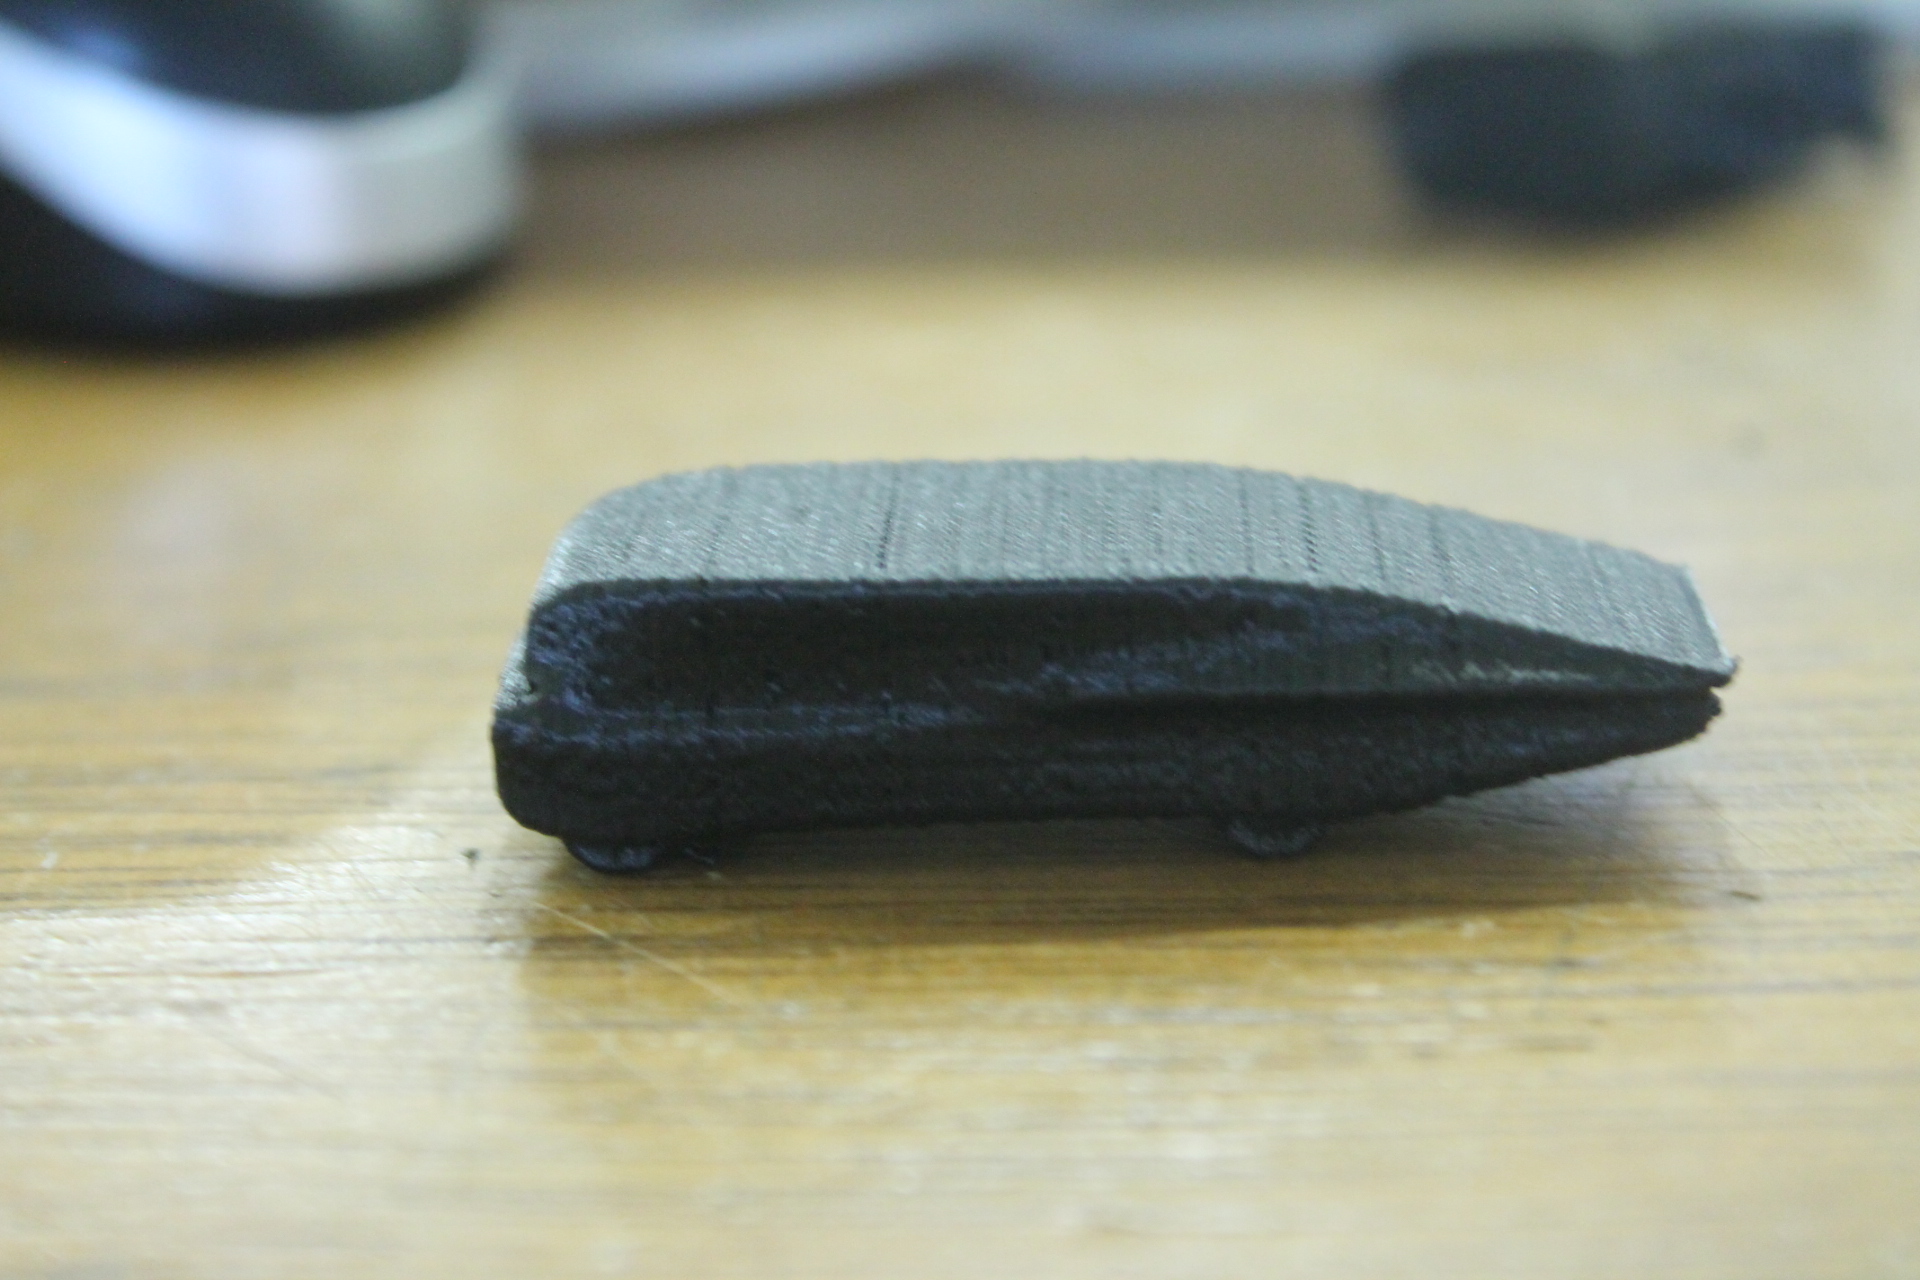
And it was what I had to change the result is distinctly smoother than the first attempt.
* Some final pictures on differents angles *
Model 4:
I chose to print another one of my drawings. I wanted to print that one because I loved it very much. And once again, I decided to make contrast effect for this impression.
For this plan, I once again used the laser printer.
* It's my original drawing *
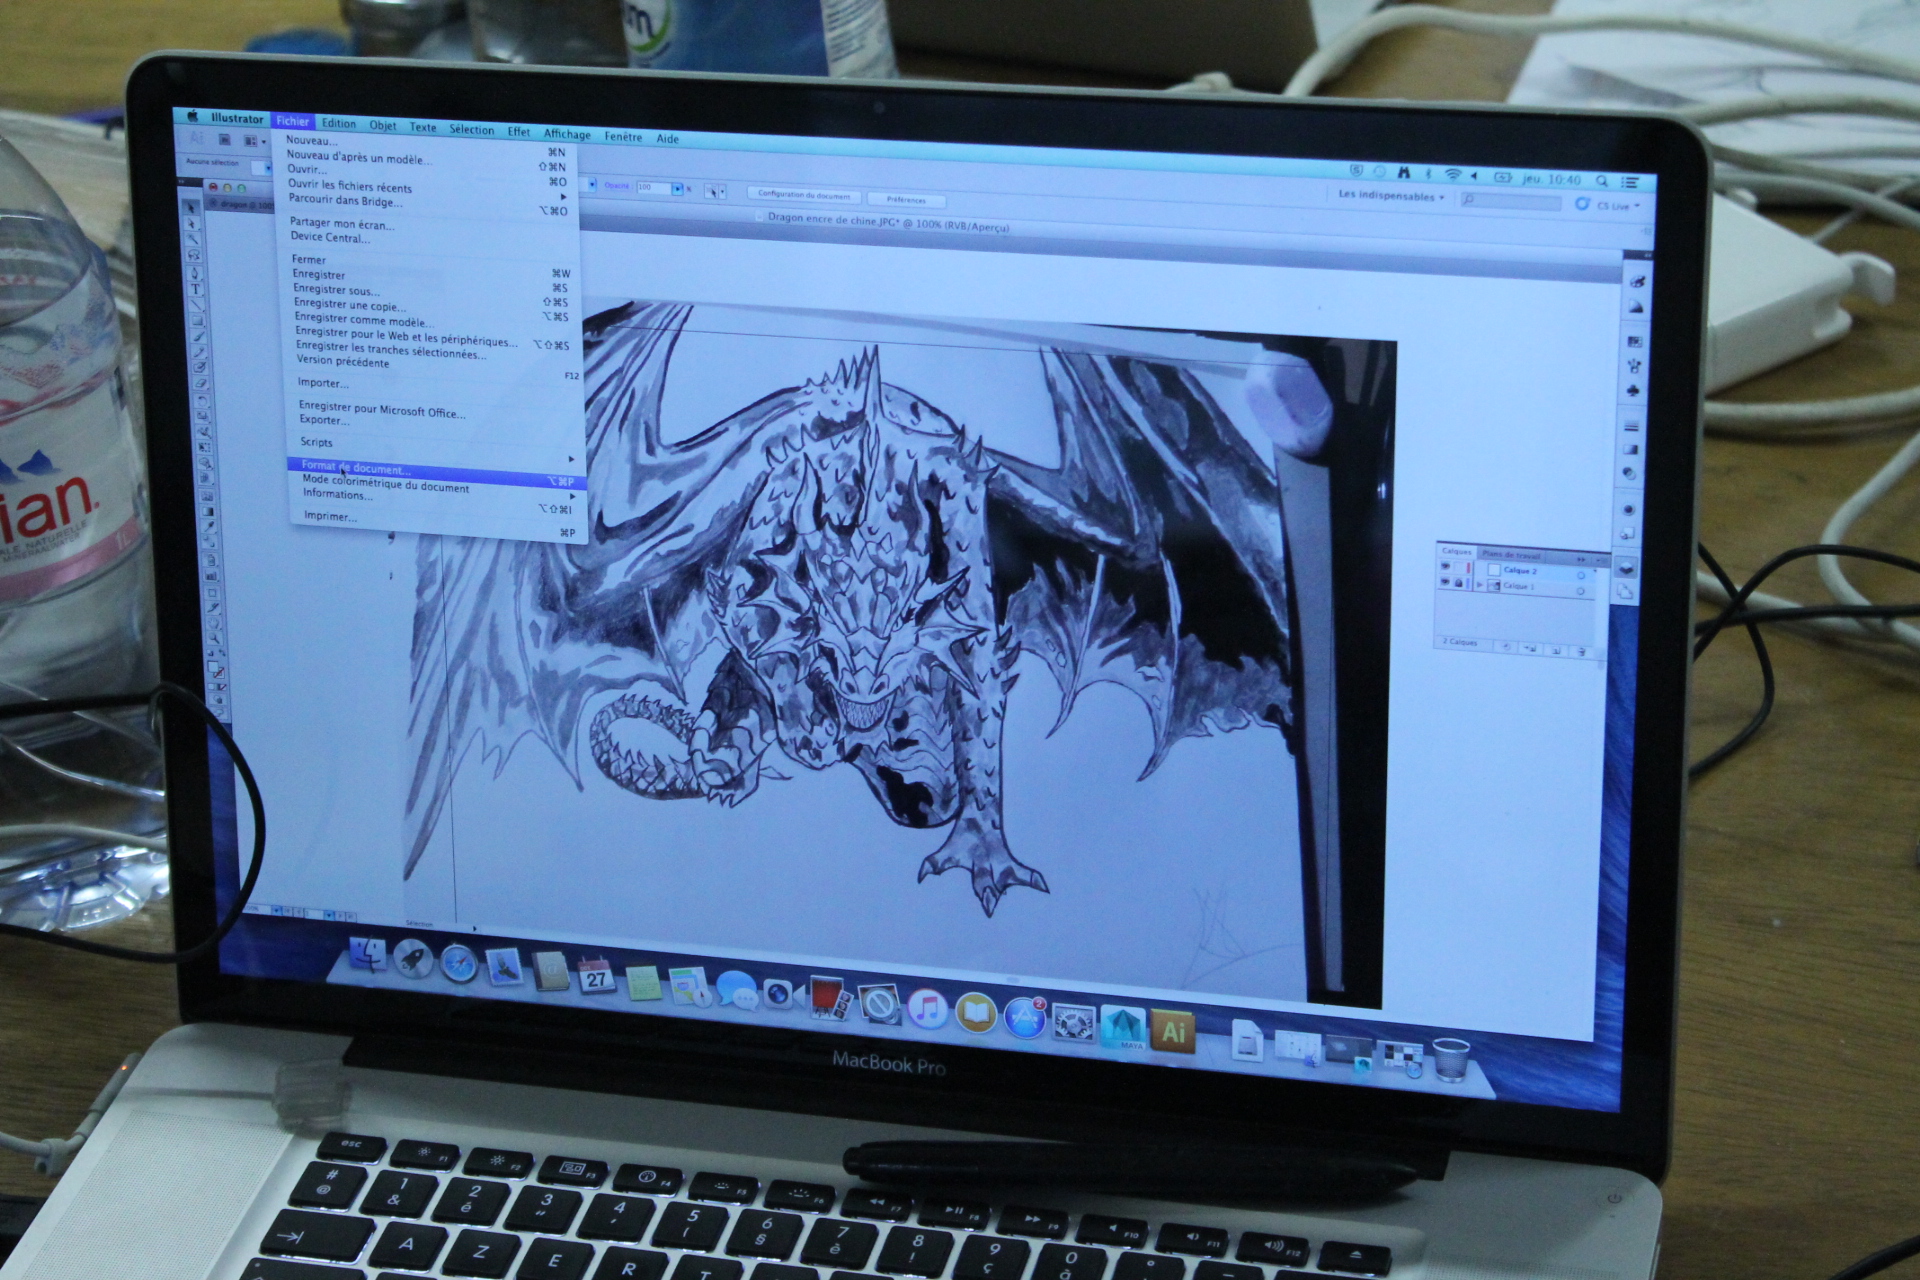
* How it look on Illustrator *
I made several tests to see if the level of contrast was sufficient or not and also to be sure of not make a mistake with the settings. To avoid burning the board.
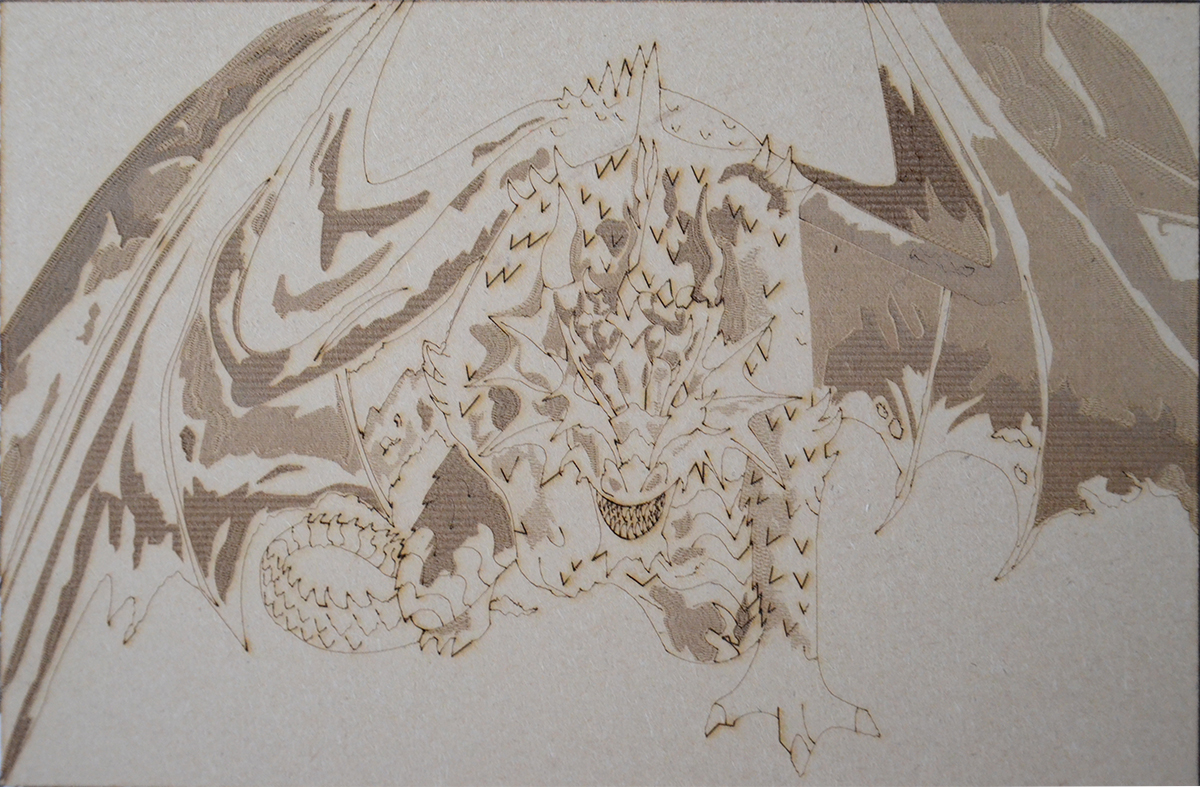
* It was the final result but when I wanted to cut the board, the board wasn't at the same place(in millimeter)*
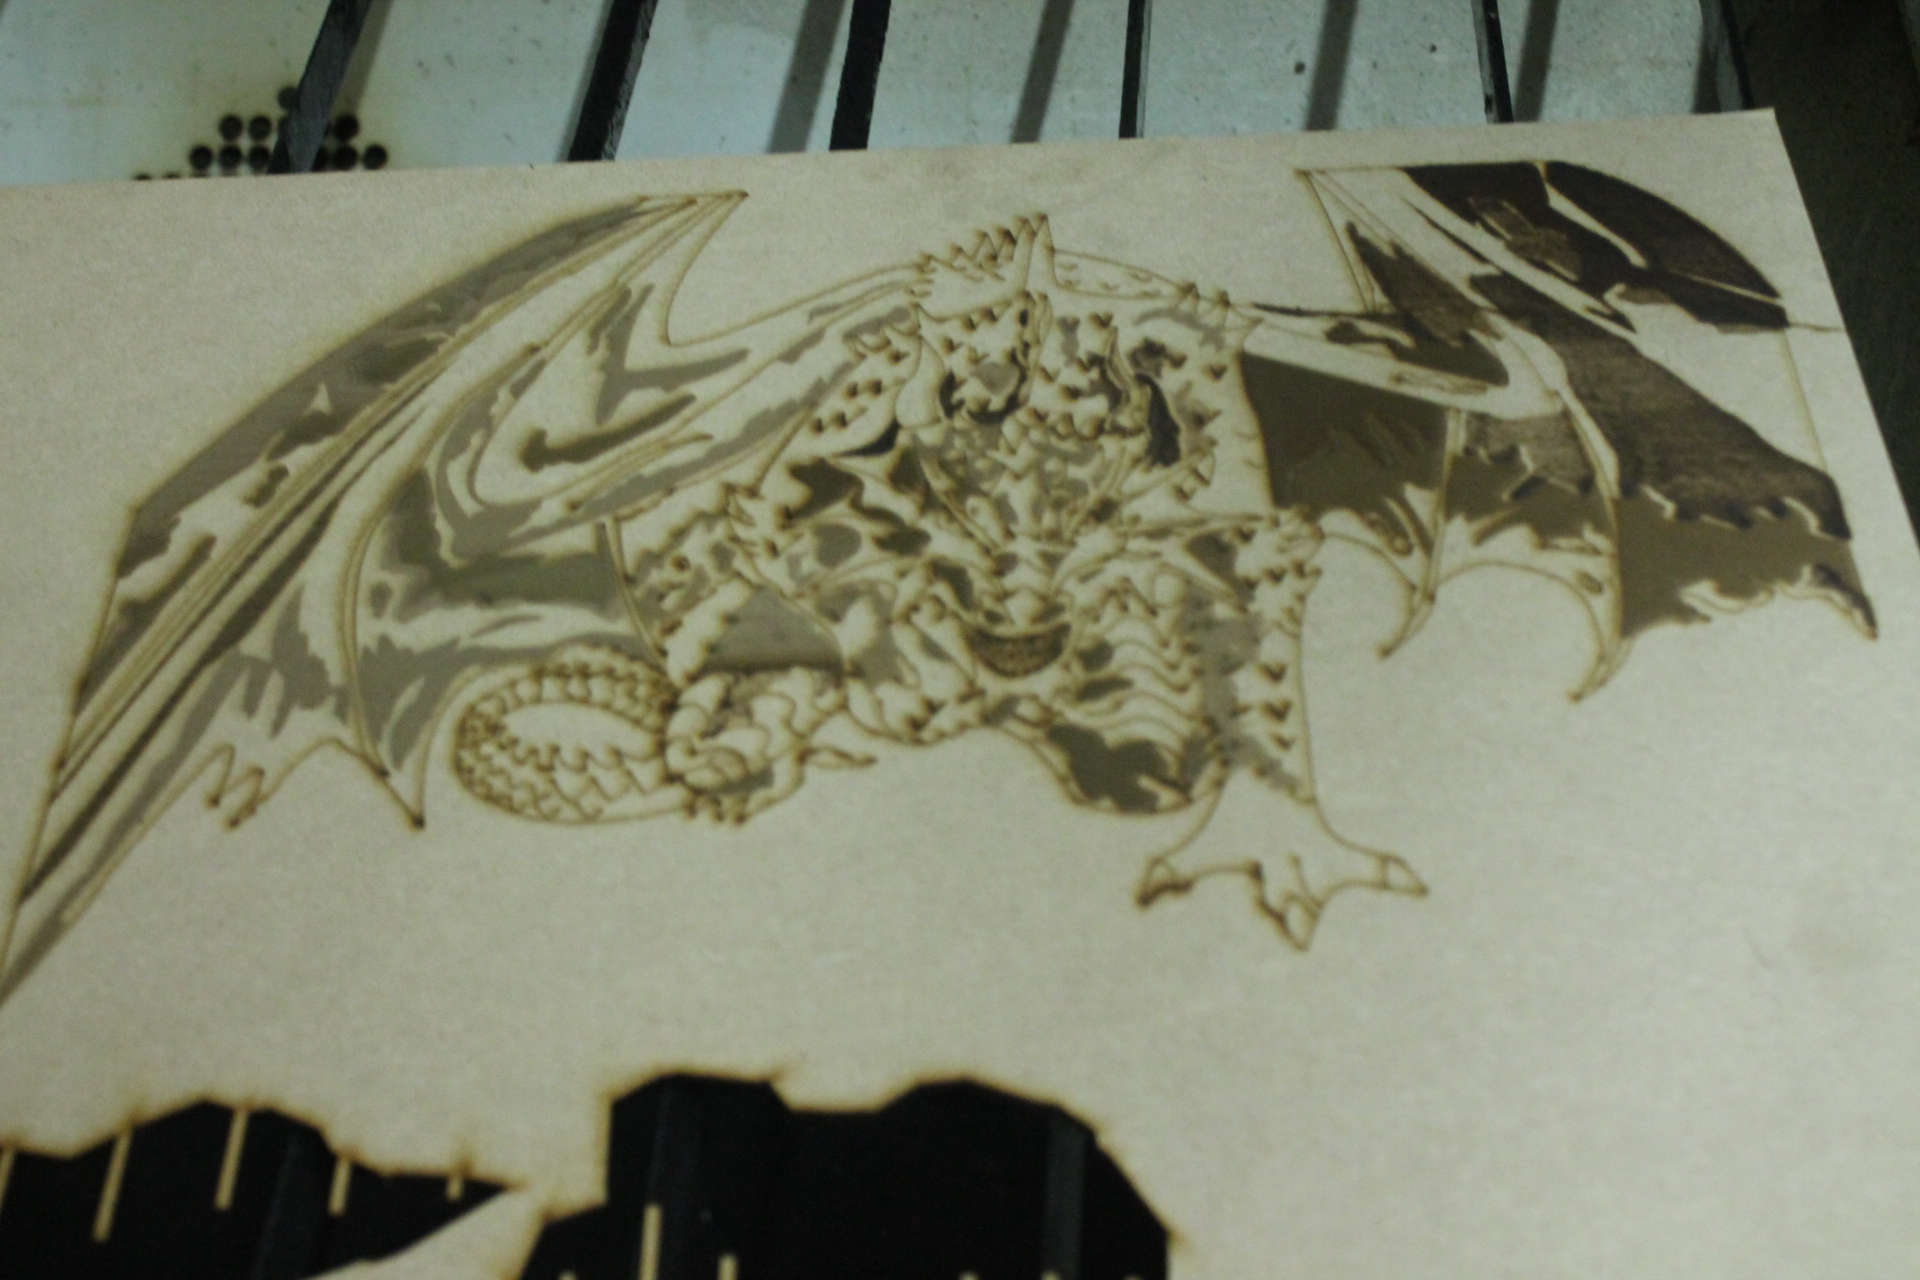
* That's what look the dragon whitout mistakes *

Conclusion
I learnt and discovered many things on the different printers of the workshop and all of them are different. It’s necessary to pay particular attention to settings to avoid failures. It was intriguing to see the functioning of these different machines when they are printing especially the laser printer.
It was nice to be able to have his drawings makes on another support or it’s 3D objects bring into reality.
Gallery


Info
Date: October 2016
Last updated: January 2017