Form 1 +: Taking care of your Tank
Replacing Your Resin Tank
This information has been taken from the Formlabs Printer care website
The resin tank is an acrylic tray with an optical window and silicone (PDMS) layer that contains the liquid resin and assists the laser in curing the resin. After many prints, the silicone layer in the resin tank will reach the end of its life and the resin tank must be replaced. The tank might also require replacement if damaged during use. The life of a resin tank can be prolonged with varying placement of models throughout the build area, gentle handling of the tank, avoiding contact with the optical window, and proper maintenance of the internal tray cavity.

For successful prints, it's essential to use a transparent tank, free of any marks, scratches, fingerprints, or smudges.
Diagnosing a Damaged or Expired Tank
An “expired” resin tank may cause print failures of many varieties, including partially completed prints, poor base or support formation, and in extreme cases - entirely failed prints. While many variables determine when a resin tank expires, a well-maintained resin tank typically lasts 1-2 bottles of resin or approximately 1000-2000 mL of prints.
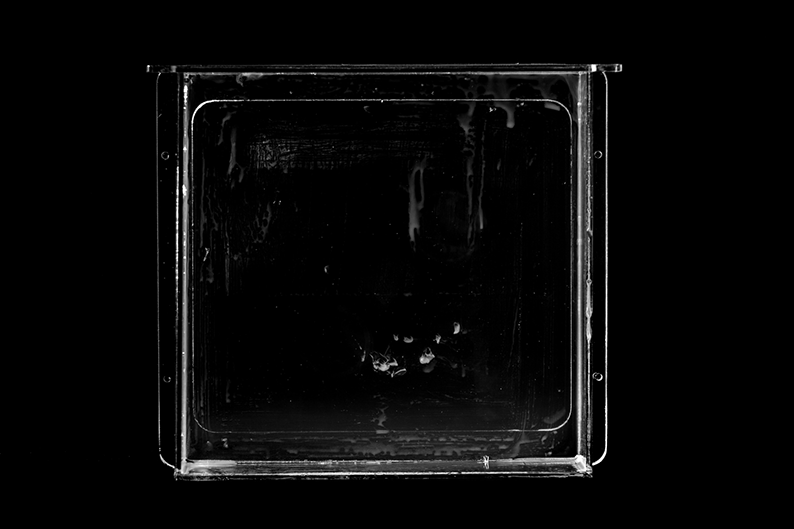
When new and when well-maintained, the silicone (PDMS) and optical window offer an entirely unobstructed path for the laser to enter the resin. However, damage to the silicone or optical window can be detrimental to the Form 1+’s performance. Some resin tank issues, such as clouding and cured resin, can be mitigated with maintenance and care; other forms of damage, such as gouges and scratches, require replacing the tank. Optical clarity and a crystal clear tank are essential to print performance.

SCRATCHES
A scratch in the silicone or optical window may cause striations across a portion of the build platform. This is because the scratch can deflect or block the laser from reaching the designated position during the build. If the scratched area cannot be avoided, the tank should be replaced.
GOUGES
If the silicone is gouged, the laser will not properly travel through the silicone layer, bending the light path in the wrong direction, away from the point that is set to be cured. A gouge is indicated by a piece of silicone torn away from the layer and may result from improperly scraping the resin tank between builds. A gouged tank requires replacement.
CLOUDING AND SETTLED PIGMENT
Over time, the resin tank can develop cloudy or foggy regions in the PDMS. This may happen for a variety of reasons, especially in spots of heavy laser or peel activity. For this reason, it’s important to make full use of all regions of the build platform. Cloudy regions can also develop where pigment has settled. Sometimes, clouding can be reduced or removed by carefully moving the scraper against the PDMS.
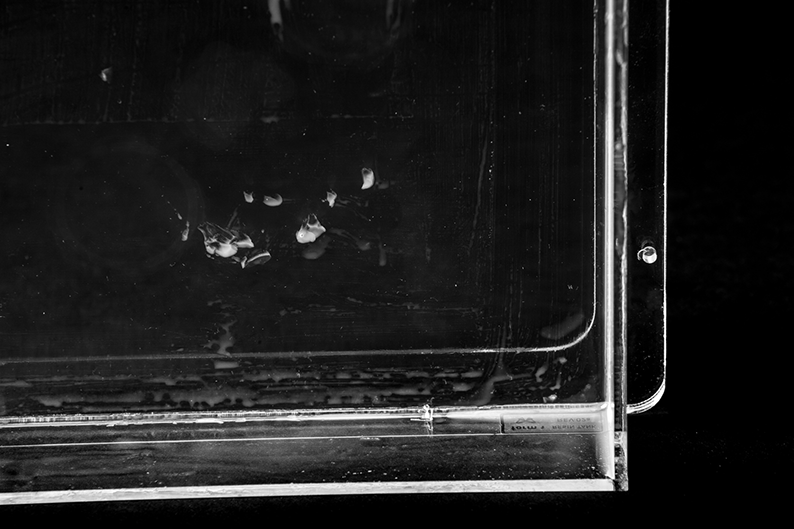
CURED RESIN
In some print failures, resin may cure against the silicone, rather than to the build platform. It is always important to care for the resin tank and gently scrape the silicone between builds. If you find small pieces floating or thin sheets of resin on the silicone, follow our instructions for cleaning your resin tank.
Resin Tank Care
Optically clear resin tanks are a crucial component for successful prints. When using and storing your resin tanks, it is important to keep your resin tank clean to achieve high quality prints and prolong the life of your resin tanks.
To clean the tank’s bottom window from dust, debris, or fingerprints, use a specialized acrylic cleaner such as Novus 1 and a clean microfiber cloth.
1. Remove the build platform and tank
TIP
Always remove the build platform before removing the resin tank to avoid dripping leftover material into the printer body. Hold the tank by the front tabs, sides or rim, to avoid getting fingerprints on the internal and external surfaces of the window. Do not rub or scratch and do not allow resin on the underside of the tank.
2. Spray Novus 1 and
Wipe surface clean with microfiber cloth
Use the spray Novus 1 to clean the botton of the tank then wipe this surface with a microfiber cloth
4. Reinspect the tank
WARNING
Do not use IPA or any paper or cloth towel to clean inside the tank.
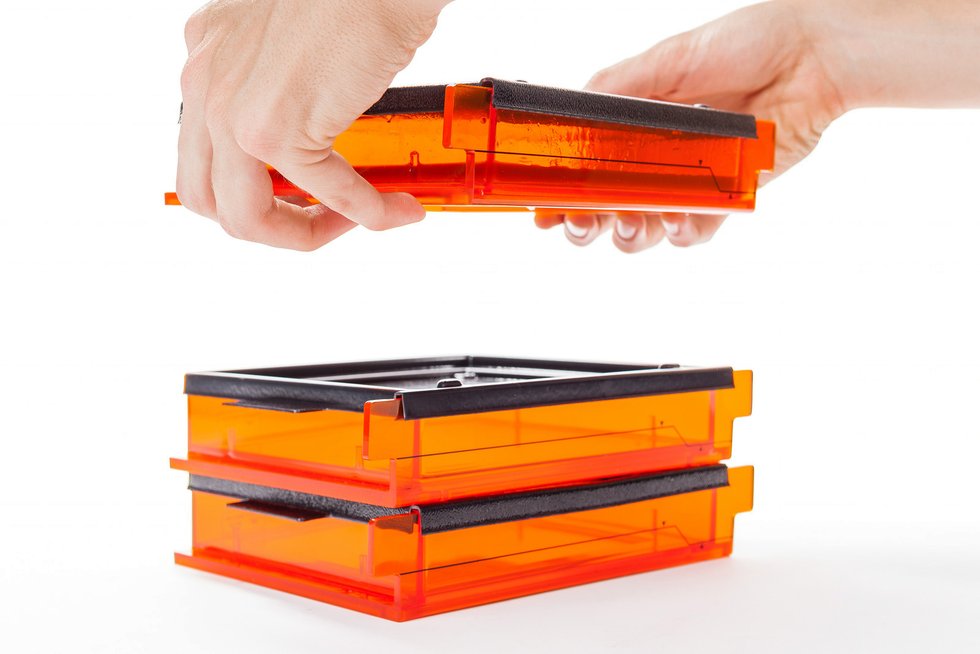
Storing Resin Tanks
Unopened resin tanks can be kept in the box. Once a tank has been used to hold resin, it must be protected from ambient light. Keep the black tank cover to protect resin and stack multiple tanks. The orange acrylic will also block light for tanks stored outside of the Form 1+. It is best practice to keep all resin tanks out of direct sunlight.
Gallery
Info
Difficulty: ●●●●●
Last updated: January 2015