iMAL Makerbot User's Guide
Our first Makerbot 3d printer (bought May 2011) is a:
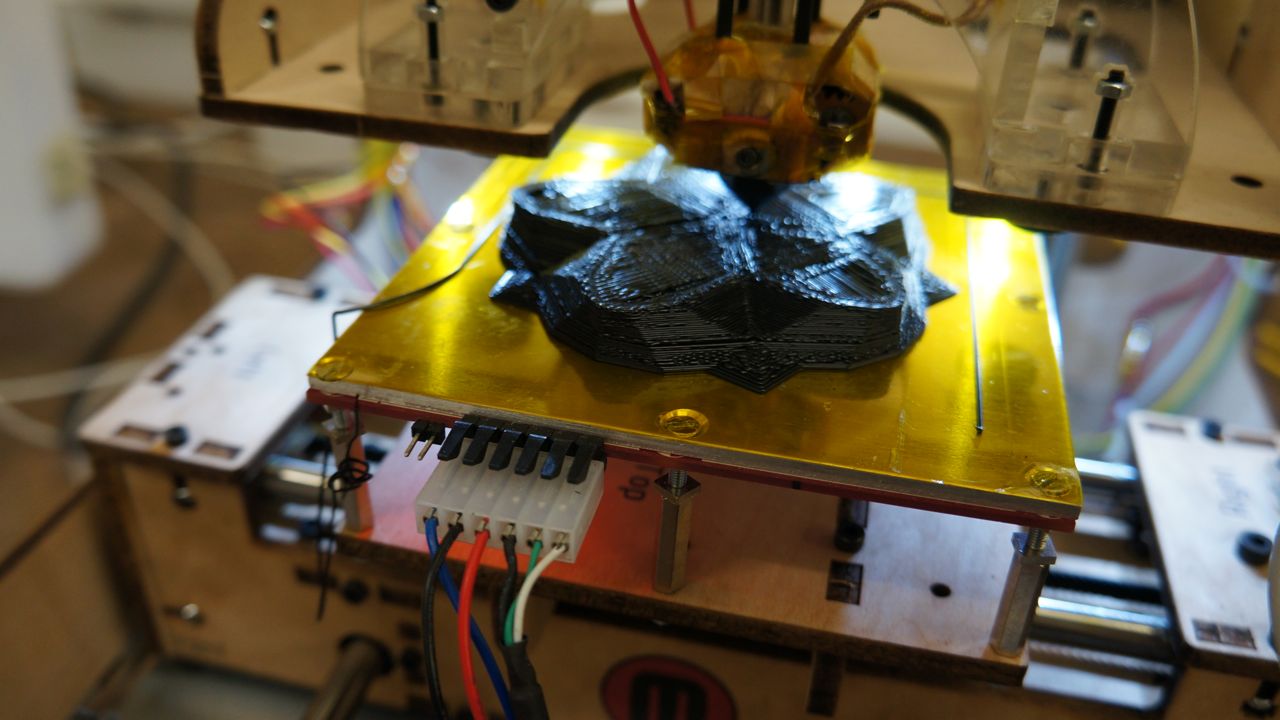
Thing-O-Matic with a MK6 extruder (0.5mm noozle - 2.88mm filament).
The build platform was modified with an alumium plate for maintaining its flatness under heating
(we don't use the Automatic Build Platform, not really usable).
The platform should be covered with Kapton tape.
For most works, you don't need to build a raft.
To use the Makerbot, there is a dedicated iMAC (a white Intel) with all software installed.

If you installed ReplicatorG on a new machine, check the ReplicatorG first time setup
- prepare you model with your favorite 3d modelling software and export is
as *.stl file
- switch on the 3d printer & open ReplicatorG
- check the printer is connected with Replicator (green tool bar - red
otherwise)

- launch ReplicatorG and open the stl file to print
- to avoid wasting time later, already pre-heat the machine via Machine -> Preheat // or use the control panel (arrows icon) to set the target temperatures to

Stepstruder : 220°C
Platform: 110°C - make sure your object is entirely on the platform and his min z at z=0 : use 'Move' button, 'Put on Platform'

- generate GCode for you model
- In GCode -> GCode Generator, make sure Skeinforge 035 is selected
- Selecting the profile
- option 1 (for now only on the RepG 0028 installed on the white Intel iMac): use the saved profile 'SF35-SetupG0-0.35' (0.35 mm layer
thickness) in the dialog box, select it, disable all check boxes and options

- option 2 (always works): use profile 'SF35-Thingomatic-HBP-MK6'

Use Print-O-Matic : yes
Object infill: how much in % you want your object to be filled
Layer Height : 0.35 is what we've used so far. I'm now making my tests using 0.34 (that's the minimum with our 0.5mm nozzle)
Shell : 1 (more shells = more solidity but less geometrical precision )
Speed : 30/35 (you can try different values: less (slower) means more material deposited , more (faster) means less material)
(no raft is required with our platform!!)
- option 1 (for now only on the RepG 0028 installed on the white Intel iMac): use the saved profile 'SF35-SetupG0-0.35' (0.35 mm layer
thickness) in the dialog box, select it, disable all check boxes and options


- check the filament is correctly introduced in the extruder with the
required length to build the object!
(in the gcode generation logs, you should see the cm3 required to build the object; with a 2.8mm filament, you need about 16.24 cm length for 1 cm3 of plastic...) - build!
- (wait for the toolhead temperature to be at the correct value - as defined in the profile)
- when building is starting, remove the first junk cm's of extruded filament (just gently move it away from the tool path)
- Filament too Short while building:
first, be sure that you have a nice and flat cutted edge at the extremity of the new filament.
Then just engage the new filament following the end of the first one, pushing enough to pass the gear, but loose enough to let the first filament go back (up) ( it happens at each direction change).
Replacing the filament while printing the infill is the best option.
11. removing the object
- let cool down a few minutes (platform temp. should be lower than 70ºc)
- use a long cutter blade to gently remove the object without scratching
the platform
Maintenance and stuff
- Keep the platform clean, you can remove the small sticky bits of plastic with alcohol and a thin fabric
- If the Kapton tape is scratched / too dirty, you can replace it
Gallery


Info
Difficulty: 1/5
Last updated: August 2012