Tentative de gravure en FabLab
The project is to engrave an image for a relief printing.
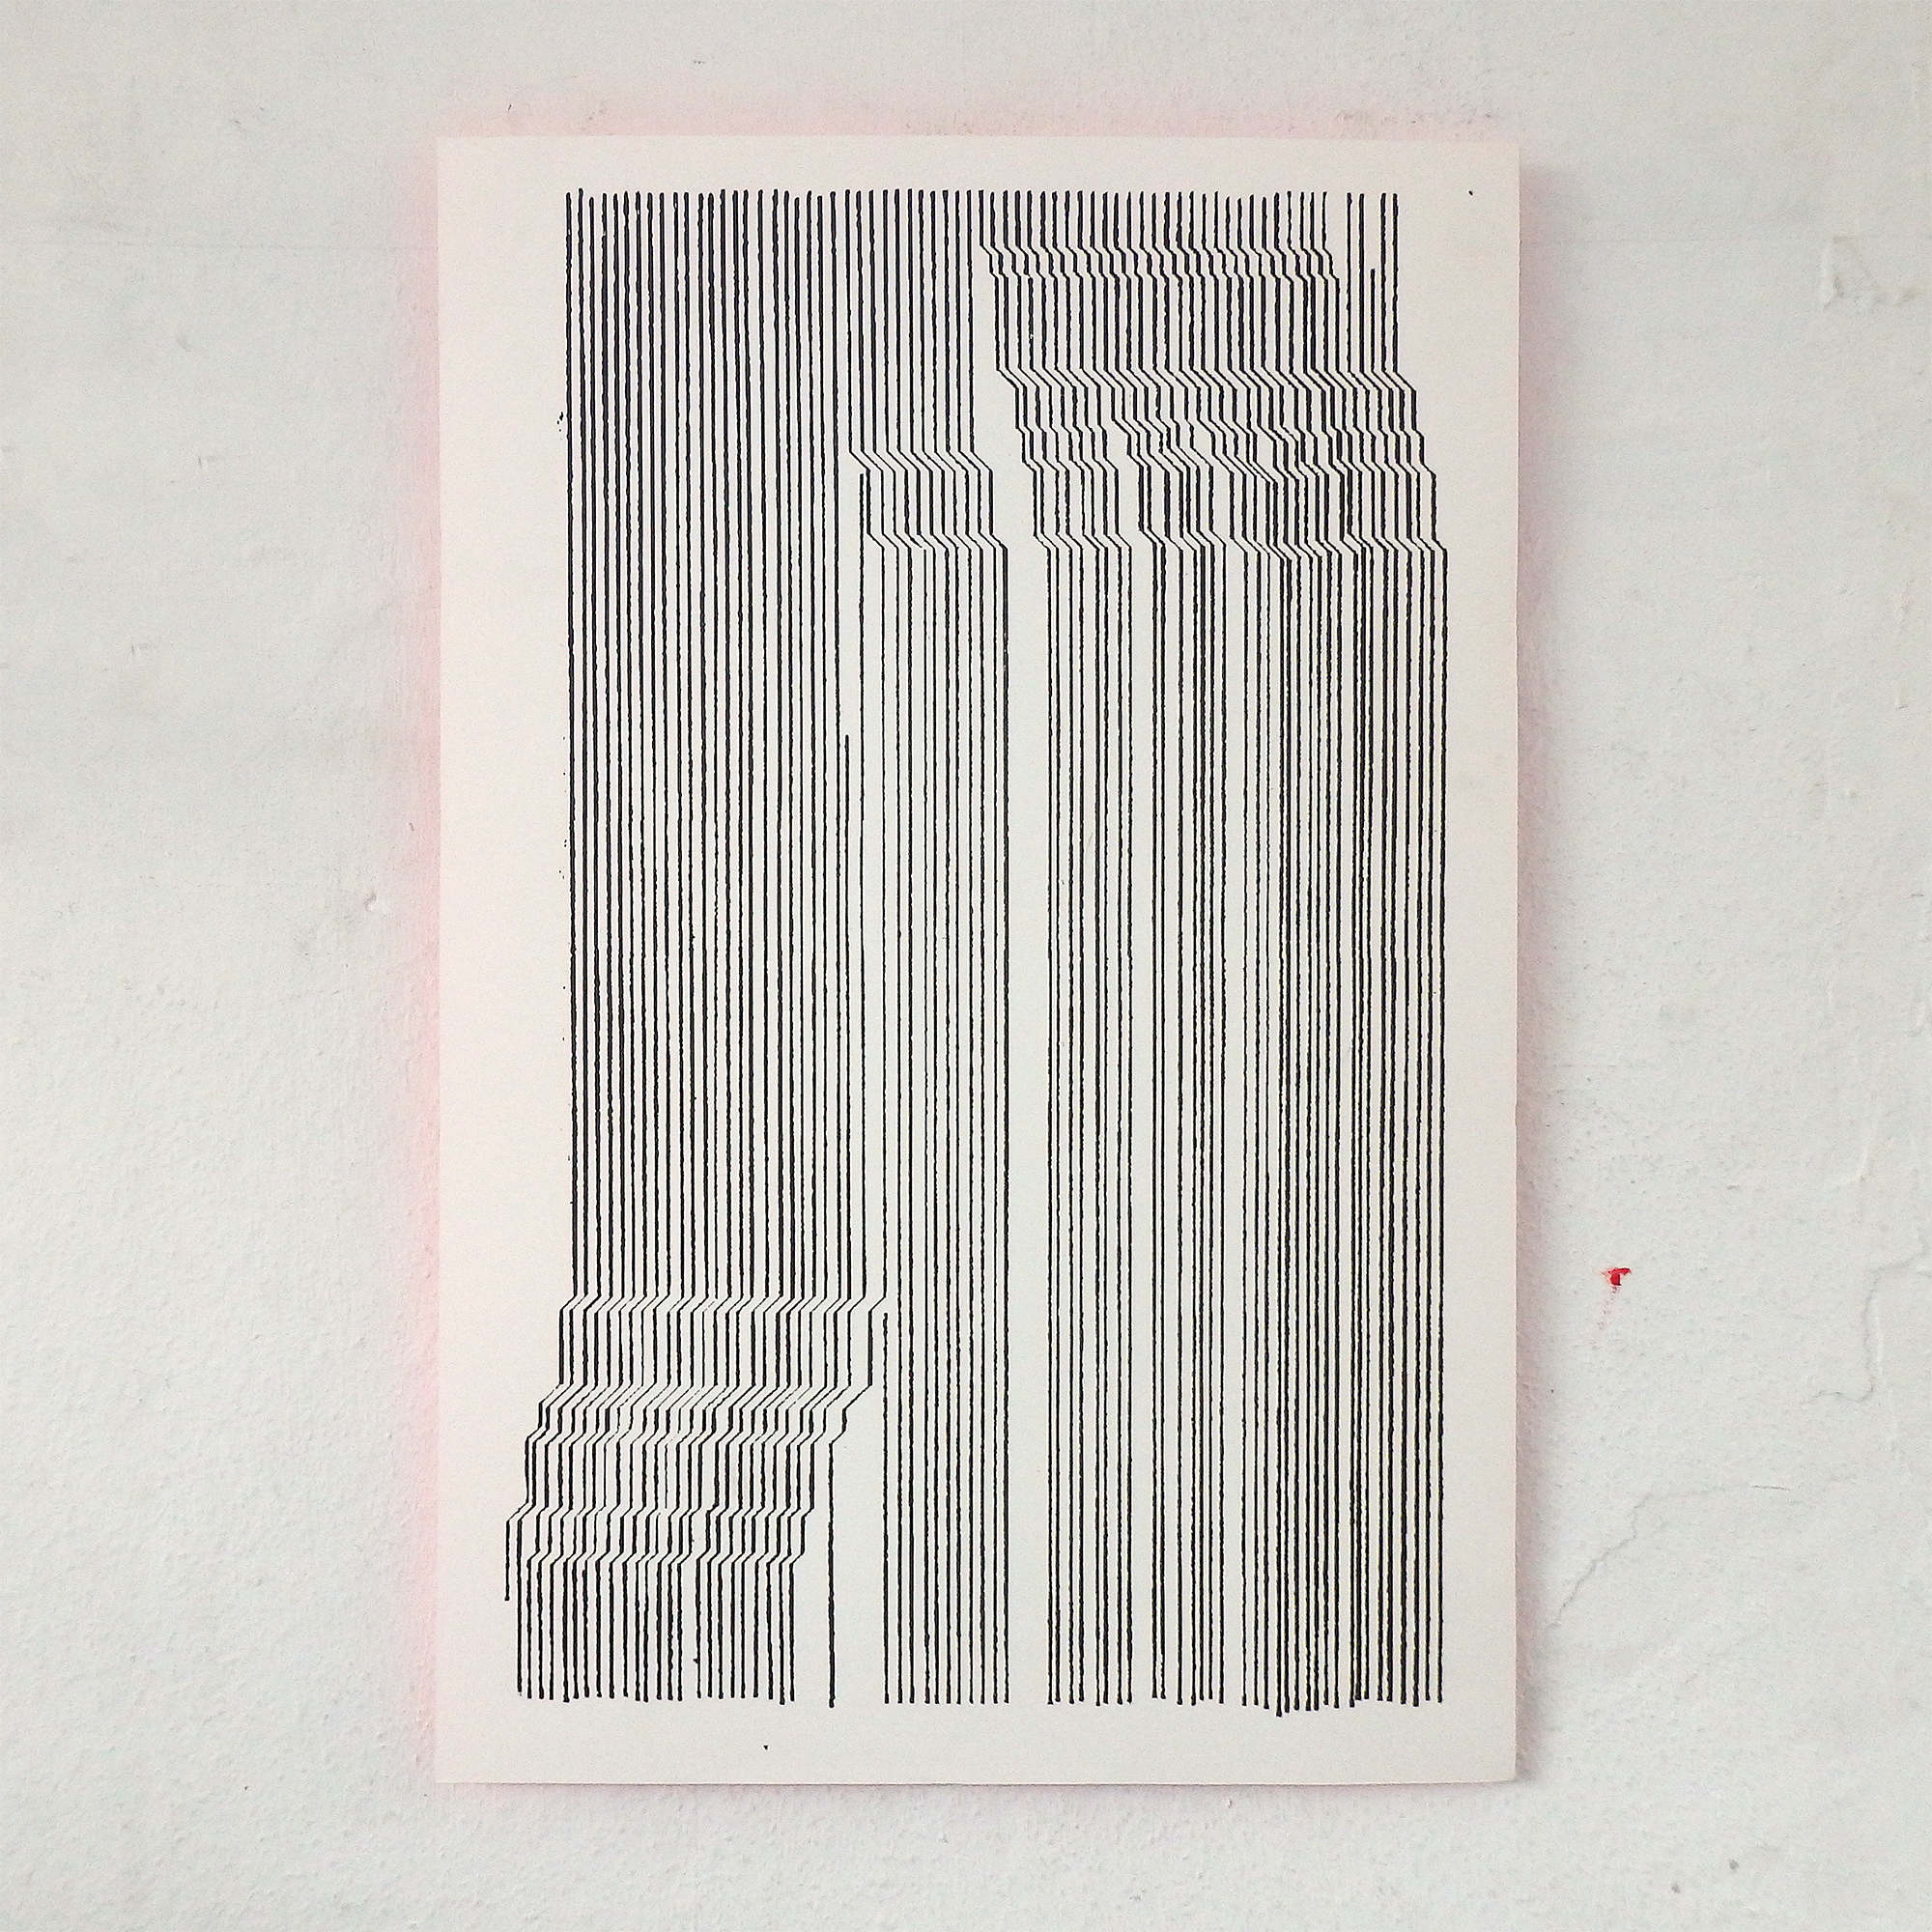
The starting point is a image created for an USB key made for an album by musician &apos.
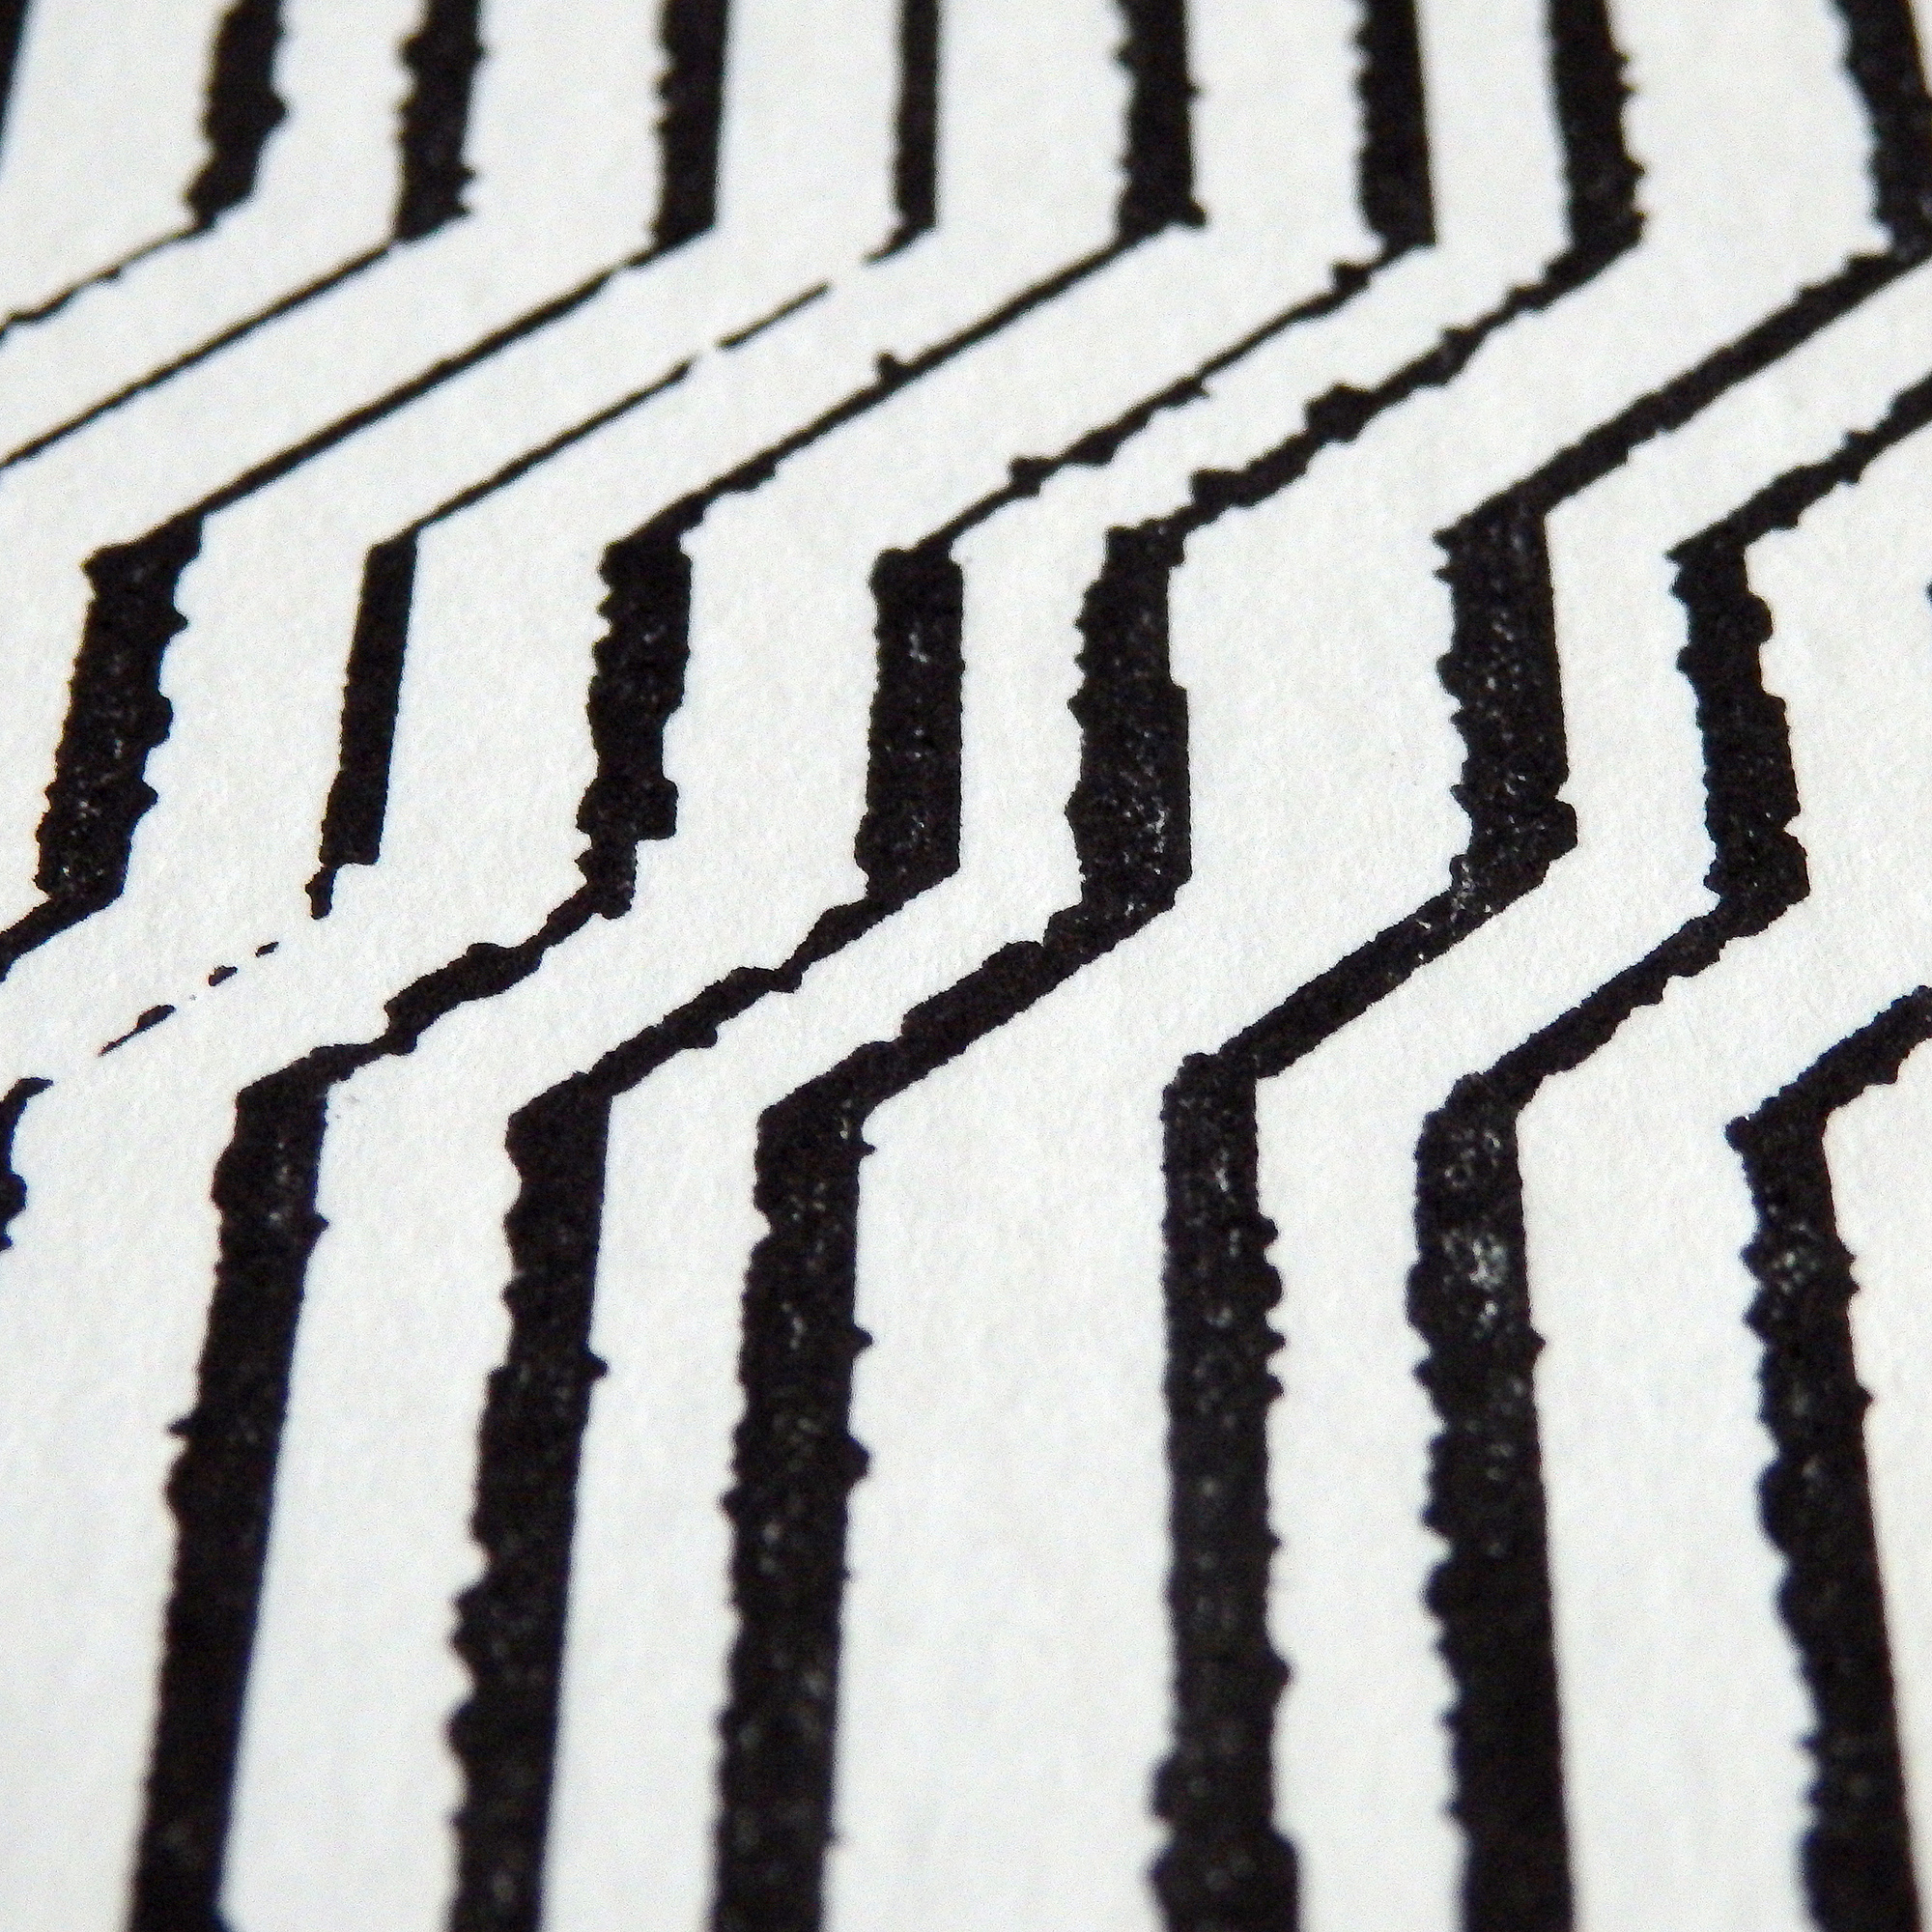
This image was created by letterpress printing brass rules "air lines" , scanning them and edit the scan to give the shape I wanted.
The result is an image that fits on a business card (the USB card) of 5,5 x 8cm.
For the project, I would like to print a poster of this image. It will letterpress printed.
Therefore, the image has to fit on the press. A size of maximum 50 x 70cm, can't exceed 3cm height and need to resists to pressure.
I need to "remove" material around the image I want to print (as it is relief printing, not etching print).
The first step was to create a vectorized image, in order to enlarge it to the pster size.
Then, I needed to choose which material and which tool to engrave it.
MDF is a good choice. It's flat, hard and cheap. But no MDF in the lasercutter. As the image is quite detailed, I needed a 1 mm drill to achieve the engraving with the right amount of details.
After creating the toolpath on STLCam, the estimated work time was around 15h +.
I decided to move to the laser cutter, it would maybe be faster.
For the lasercutter, no MDF. I went for plexiglass.
The first try was with a 2mm thickness sheet. Max. power: 30 - Min. power: 30 - workspeed: 600mm/s. The heat was too high and quite fast, the plexiglass wasn't flat anymore.
Second try with a 5 mm casted pleixglass. Max. power: 30 - Min. power: 30 - workspeed: 600mm/s. First pass was good but not deep enough. It needed a second one that I couldn't do during the same session. Unfortunately, it was impossible to replace the plexgilas in the same position for a second layer. This second try was a fail.
Work time / layer = roughly 2h45.
Third try: 4 mm casted plexiglass. First layer engraving: Max. power: 30 - Min. power: 30 - workspeed: 600mm/s. Second layer engraving: Max power 45 - Min. power 45 - workspeed: 900mm/s.
Engraving is deep enough, but unfortunately, the heat was too intense and the plexiglass looked like a banana. I could manage to cut out the shape of the image from the big plexi sheet. After some attempts to flatten the plexiglass, I could mount it on a wood pannel and place it to the press. The edges weren't flat enough, because of the heat, therefore, it was impossible to print it. Also, with the intensive heat (?), the edges of the printable surface look burnt and dont print well.
Last try. 6mm casted plexiglas. One layer engraving. Min power. 45 / Max power. 45 / Workspeed 600. After this layer, the plexiglas started to bend. I decided not to go for a second layer of engraving.
Engraving was ok and deep enough for the ink not to go in between the lines but it was not deep enough for the big flat surfaces. I had cut the form with a trim saw to keep as little as material next to the edges. I also used a Dremel to soften the edges and engrave a bit deeper here and there.
For the final print, I used this plexiglas matrix, lead types and wood panel.
Gallery


Info
Date: June 2021 - September 2021
Last updated: November 2021