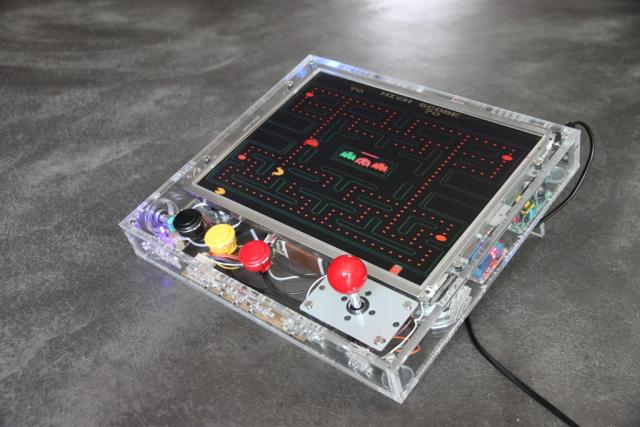
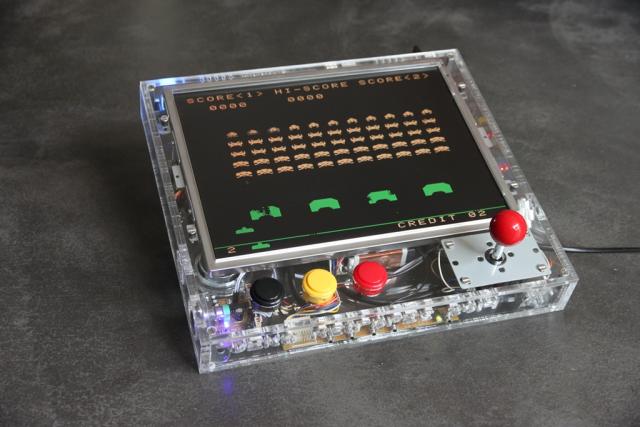
Retro Gaming Arcade Console with Raspberry Pi (RetroPie)
This is not a piece of art, even not an invention, but a pretext to play a lot with electronics, programming, and laser cutting of course!
This work is based on the work of petRockBlock exposed on his blog.
The idea is to use a Raspberry Pi for emulating old arcade cabinet games – do you remember "Insert coins"? – but with some constraints:
- all components assembled in a single and portable box (ok, only a power cord)
- easy to use (a child can do it – and he will!), just a push-button for turning on and off
- the minimum required to play: 3 action buttons and a joystick
- only antiques from the 80s, no more
Laser cutting
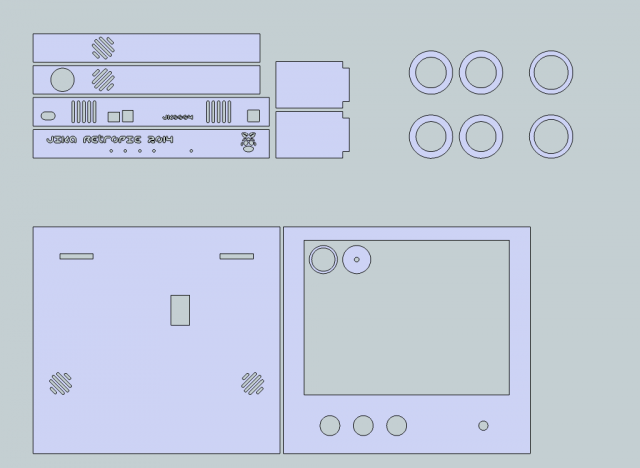
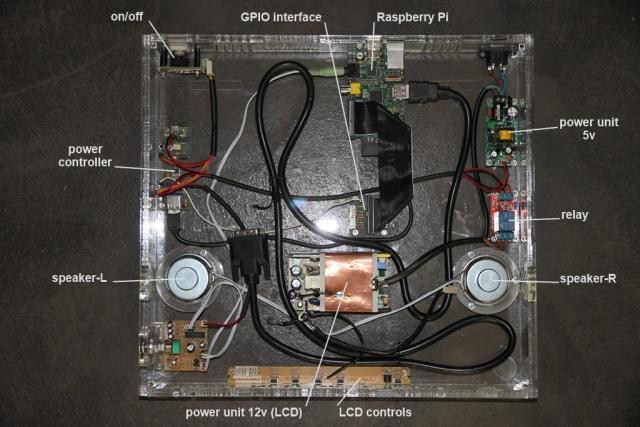
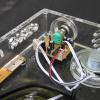
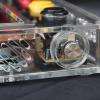
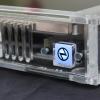
Because I wanted to stick to the fun, I used a transparent Plexiglas. Thus, all components, details of construction and assembly are visible. I used Plexiglas (PMMA) 2mm, 3mm, 5mm and 8mm thick. The bottom and the sides are glued, the rest is screwed.
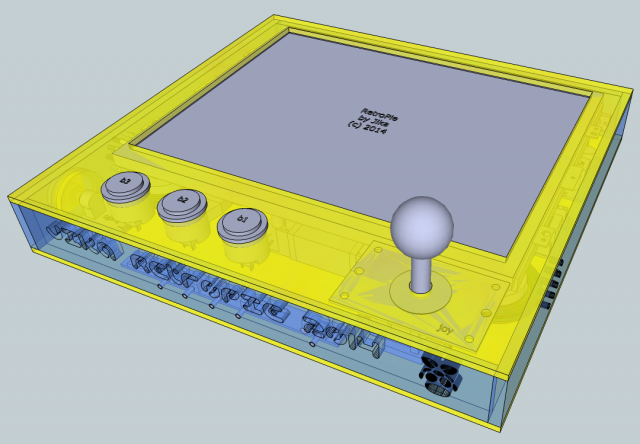
In most cases, you have modelled in 2D with InDesign or Inkscape. You may turn your 2D model in 3D to visualize the rendering, and then you transfer the 2D file for cutting.
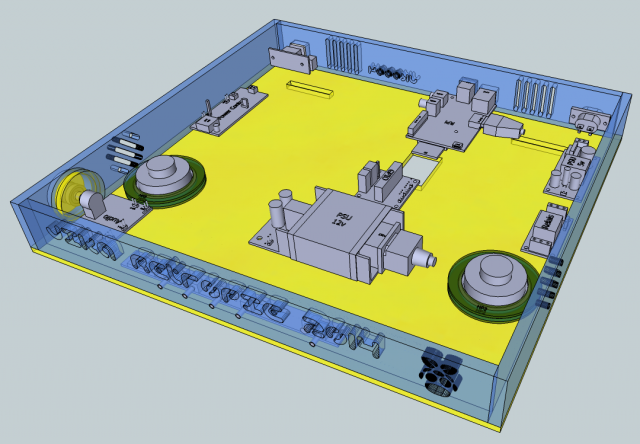
I did the opposite. I started from 3D directly with SketchUp. Then I turn into 2D, still in SketchUp. I made a cutting plane of each part, exported in DXF and imported in SmartCarve as explained at http://wiki.imal.org/resource/imal-lasercutter-cyborg.
This was very helpful to design a box as small as possible, according to the size of each component.
SketchUp can be interesting for those who are not familiar with Illustrator/Inkscape and come directly from 3D modelling. You can draw only in 2D.
Behind the scene, more technical
Raspberry Pi
A few words about the Raspberry Pi and the software:
"The Raspberry Pi is a low cost, credit-card sized computer […]. It is a capable little device that enables people of all ages to explore computing, and to learn how to program […]. It’s capable of doing everything you’d expect a desktop computer to do, from […A…], to […Z…] and playing games.
What’s more, the Raspberry Pi has the ability to interact with the outside world, and has been used in a wide array of digital maker projects […]. We want to see the Raspberry Pi being used by kids all over the world to learn to program and understand how computers work."
(from raspberrypi.org)
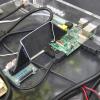
I use a B Model (512MB/8GB). The operating system is Raspbian, which is the standard Linux distribution optimized for the RPi. On top of it I installed the RetroPie Script which comes with many game emulators, and particularly MAME (Multiple Arcade Machine Emulator) is one that interests me to emulate old arcade cabinet games.
Power controller
Technically speaking the power on/off button constraint is not so easy with a RPi. This machine has no power supply control unit: you just plug the power supply to boot a Linux computer. I use it without any keyboard nor mouse, and it must be switched off properly with specific instructions to avoid corruption of the SD card.
So I need a power supply controller. A push-button will trigger the power on and the power off. When power-off is requested, a signal is sent to the RPi to an I/O port. An internal routine (in Python) detects the signal and launches the Linux shutting down process. At the end, the RPi sends back a signal to the controller, who cuts the power.
Many power supply controllers exist for RPi. A functional schema can be found at Mosaic.
Game controller
It consists on a basic 4 way "Atari-like" joystick and 3 action buttons (fire, coins, menu). This is the minimum required to play on these old games and only one player is supported. The joystick and the buttons are replacement parts for arcade cabinets, found on the internet.
The switches are connected to the RPi to 7 I/O ports. The RetroPie-Setup comes with a kernel driver who works perfectly. I just changed the port assignments.
Screen
I used an old and cheap 15" LCD display found on 2nd hand market. Yes I know, a CRT monitor would be better for the "spirit" of the project, but remember, I want a portable solution. Thus, the LCD is a good compromise.
The only constraint was it must have a numeric input (DVI in that case), because I picked the RPi video signal fom the HDMI output (the RPi has also a composite output that might do the trick but a LCD with composite input is hardest to find).
I disassembled the device to keep only the LCD with its controller, and the power supply.
Audio
I used a cheap (again!) audio kit for PC who consists of 2 speakers and a little amplifier with a volume command. It is connected to the RPi with the existing jack plug (again, a better solution would be to use the HDMI to catch the numeric audio signal, if the LCD supports playing audio).
Other things
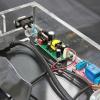
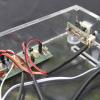
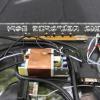
I need also a power supply board for the RPi, a relay board to control the LCD, a power on/off backlit pushbutton, cables, connectors, screws, etc…
Links
FabLab.iMAL @ Brussels http://www.imal.org/en/fablab
A big thank you to them to let us the opportunity to play with these fabulous machines!
Raspberry Pi http://www.raspberrypi.org/
RetroPie original project http://blog.petrockblock.com/retropie/
MAME (Multiple Arcade Machine Emulator) http://www.mamedev.org/
Mosaic technical documentation http://www.mosaic-industries.com/embedded-systems/microcontroller-projec...
A wealth of information about arcade cabinets http://arcadecontrols.com/arcade.htm
SketchUp Make (free version) http://www.sketchup.com/
Info
Date: June 2014
Last updated: June 2014
