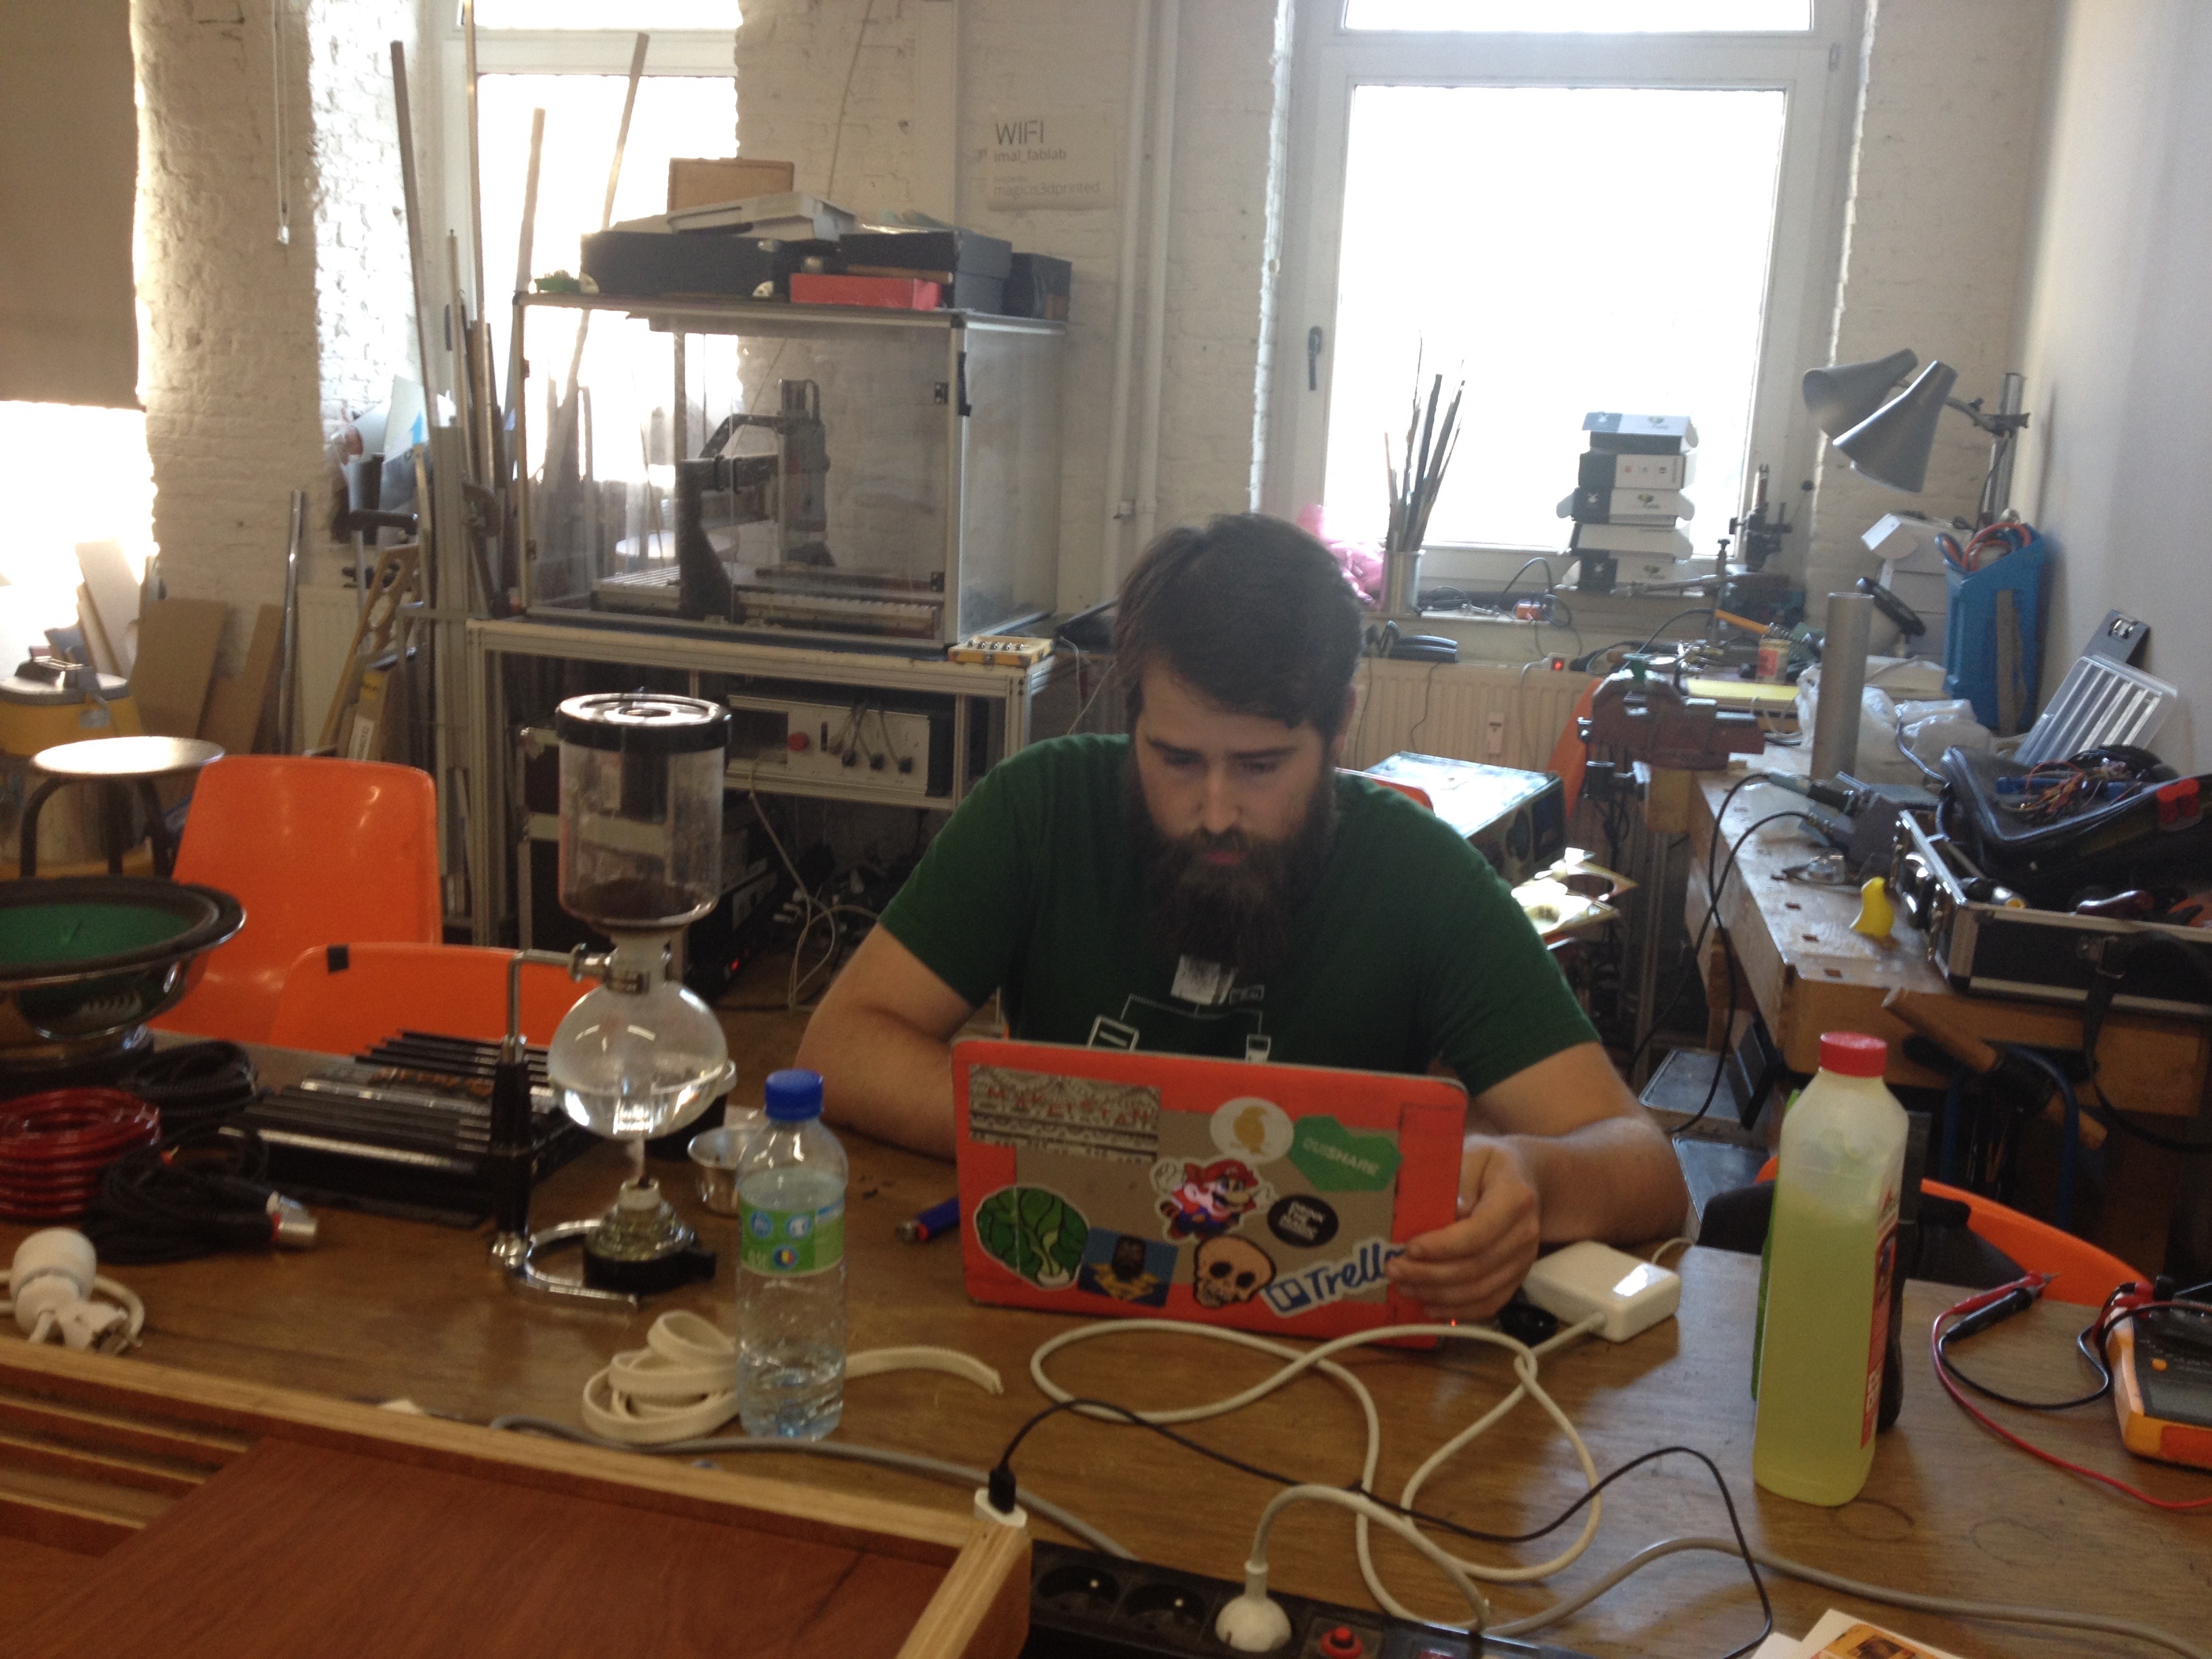
Japanese Coffee machine module for cargo bikes
Earlier we already build these kind of 15, 30 and 45cm modules with a lasercutting tool that can be found on our instructable or wikifab page, but because of the longer work we needed to put into it we decided to develope this time the modules with a CNC so we didn’t had all the detail work afterwords and had a more precies cut.
These modules are used in the project Canal d’Accroche in partnership with Vélo M2 where we design new functionalities for cargobikes that are interchangeable like an open air cinema module, a mobile fablab, …

In the three days we build 3 new modules that will be used as a public gardening module, a coffee module and a music module. We are discribing the Coffee module here.
Preparation
Materials :
Pliewood 240x120
cv, 10mm tickness -> best place in Molenbeek :
CNC machine with
a 50 x 70 cm worktable
Woodmill 10mm
All plans of the
module : mid 1, mid 2, Side 1, Side 2, Bottom, filling piece
Skills :
Basic CNC
handeling skills
Precise work
Time :
between 3 and 5h of cutting and assembling for each box
Cost :
One day of Fablab + 40 euro materials wood + 30 euro for the mill
Step 1
Cut your wood pannel for a 15cm modul in the following pieces
2x 20x50 cm
2x 20x70
2x 50x70
Cut your wood
pannel for a 30cm modul in the following pieces
2x 35x50 cm
2x 35x70
2x 50x70
Step 2
Cleaning of the workplate: always see that your surface is as even as possible
Fixing the wood: use double tape to ensure the plate will not move when cutting with the mill


Step 3
Preparing the files: set the right setting on each line you want to draw: 5mm for the horizontal line, 3mm for the vertical line and 10mm for the outside lines. Tackle 2,5mm each cut and put the rotating speed on three. Choose the right mill and the material on soft wood.


Important side notes
Always clean up between the plate cuts and don't forget to clean the mill eather!
Vacuum in between cuts, know where the machine is heading and use that to clean the dust. Some machines don't have an integrated vacuum cleaner.

XYZ ok press : just once, you will see the mill move a couple of centimeters, if not don't click a second time, but restart the proces!

Never try to find your z without turning manualy the mech on. Important if you don't want to break it

Always be near to push on the red button. ALWAYS!
Step 4
With a wood hammer and a little piece of wood in between put all the pieces together. Normally they will fit just right and you need only to applie a little bit of woodglue in between. Start gathering all the materials you want to put in and think how you will be using them. When you managed that cut out the mid 1 (vertical) or mid 2 (horizontal) pieces that fit inside the box


Step 5
If you like a little detailed touch, print 32 times our little piece in any colour you want on the 3D printer to cover up the traces of the mill. When sanding the box and putting a waterproof coting on top you will have a nice result that will charme the people to come and try out the coffee module with its Strange looking coffee machine


Fun sidenotes
When we started working in iMal we had a lot of interesting talks with the people from the neighborhood about the tools we use to make stuff. For us most of the things are as logic as ice cream on warm apple pie, but not everybody has the knowledge about this tools. So here we share them if you want to start making.
Raspberry Pi : a cheap computer where you can learn the basics of coding and making. Build your first multimedia player yourself for not even 50 euros!
Makey Makey: a banana becomes a piano, nothing more easy to do then to start with Makey Makey
Thingiverse: You want to print something in 3D but you don't know what, take a look at the biggest database for some inspiration, and download many cool designs from them
Sculptris / Tinkercad: first time using 3D programs, start with these to easy to use tools and learn the basic skills!
![]()
Downloads
Gallery

Info
Date: June 2016 - August 2016
Last updated: February 2017