FabLab connected
This is still a draft and work in progress. No garantee at all.
The idea is to give remotely control on several devices.
The links below works only connected to the local fablab.iMal wifi
Octopi
is a web interface who provide control and monitoring for 3D printers. Each printer have his own Octopi, a Raspberry Pi with a special Raspbian image. You can control remotely the printer if you are connected to the Octopi's IP inside the fablab.
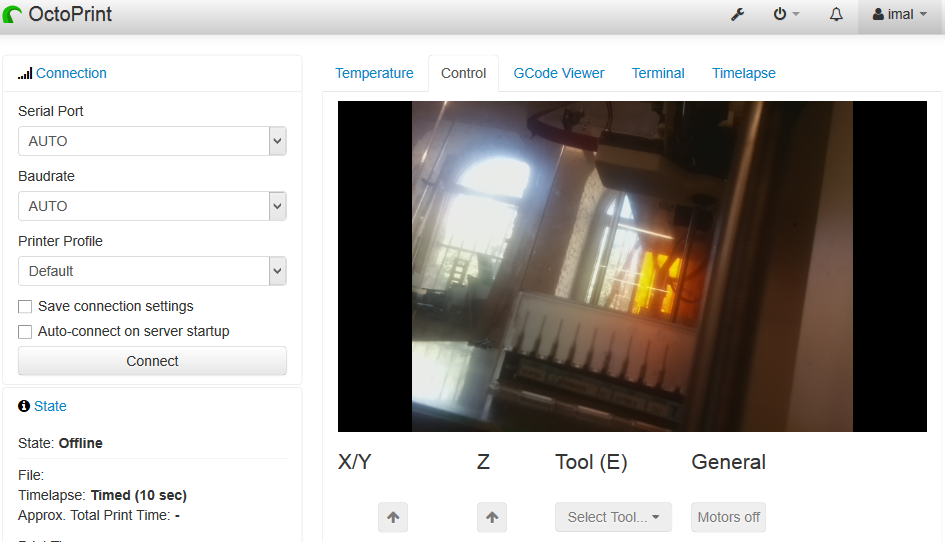
Connection to web browser and GUI's overview Each printer in the lab have his own Octopi. To connect to one of the printers, enter its IP in your web browser:
Mendel control access : http://10.4.4.131/Mendel live-stream : http://10.4.4.131/webcam/?action=stream
Ultimaker 2, control access : http://10.4.4.160/
You have to logon to start printing, you cannot access the printer without logon.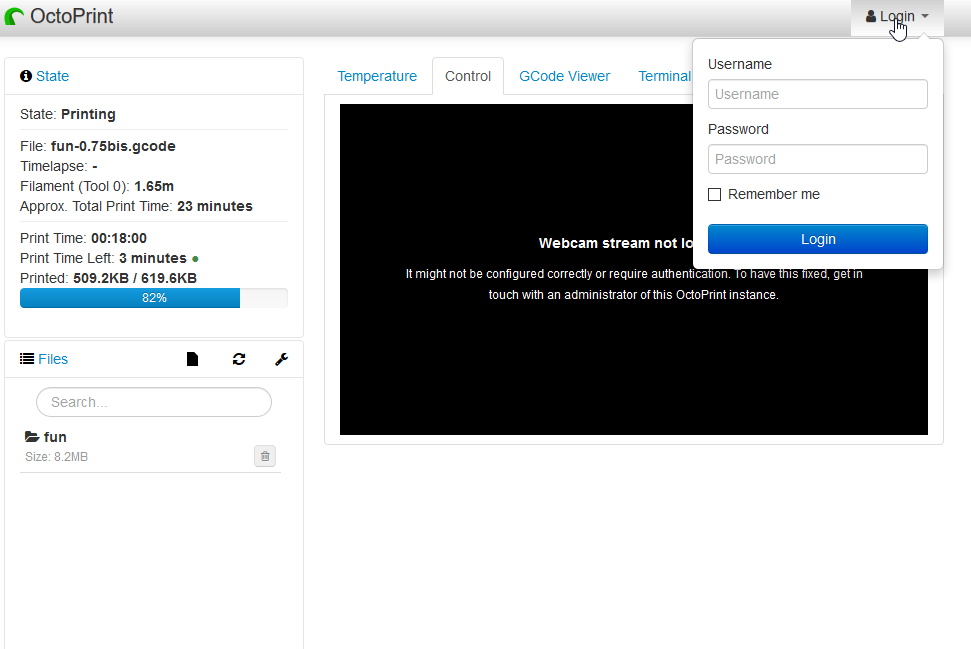
If the printer is disconnect, connect it with those settings and click on "connect". In general, 115200 is the correct baudrate, the name of the printer profile have to be the correct one.
You can upload your .gcode with "upload". If you have several files, create a folder with your name and upload those in it. You can upload directly a .stl but it's better to slice the file before and upload a Gcode
The "State" window show infos about your print.
There's different windows :
Temperature: you can check and control the heat of the machine.
Control: you can move the axis, set home, extrude and control the motors.
GCode Viewer: you can have a view of each layers.
Terminal: Basic terminal.
Timelapse: if a camera is connected to your Octopi, you can configure here a timelapse.
If you want to install one at homeFirst, you need an Raspberry Pi (RPi) or equivalent. Download Octopi's image and follow the instructions here: https://octopi.octoprint.org/
Octopi's configuration:
Burn the .img on a micro SD card with Etcher or in Terminal.
Configure your WiFi by editing
octopi-network.txton the root of the flashed card when using it like a thumb drive. You can also just plug the ethernet cable.Insert the flash card into the RPi, plug the ethernet cable, a screen and a keyboard or connect to it via SSH.
Boot the RPi and enter "pi" as username and "raspberry" as password. You can change those after. Enter the "ifconfig" command and grab the RPi's IP adress (something like 192.168.x.x).
You can now unplug the keyboard and the screen. Plug the printer via usb to your RPi.
Open your web browser in your computer and enter the RPi's IP adress to access the Octoprint GUI.
Octoprint initial configuration:
When you run Octoprint for the first time, you have to configure it, you just have to follow the steps.
The centralized IOT-FabLab system :
HA - based on Home assistant
Gallery


Info
Difficulty: ●○○○○
Last updated: November 2017